 |
 |
Laser Engraved Control Panels
|
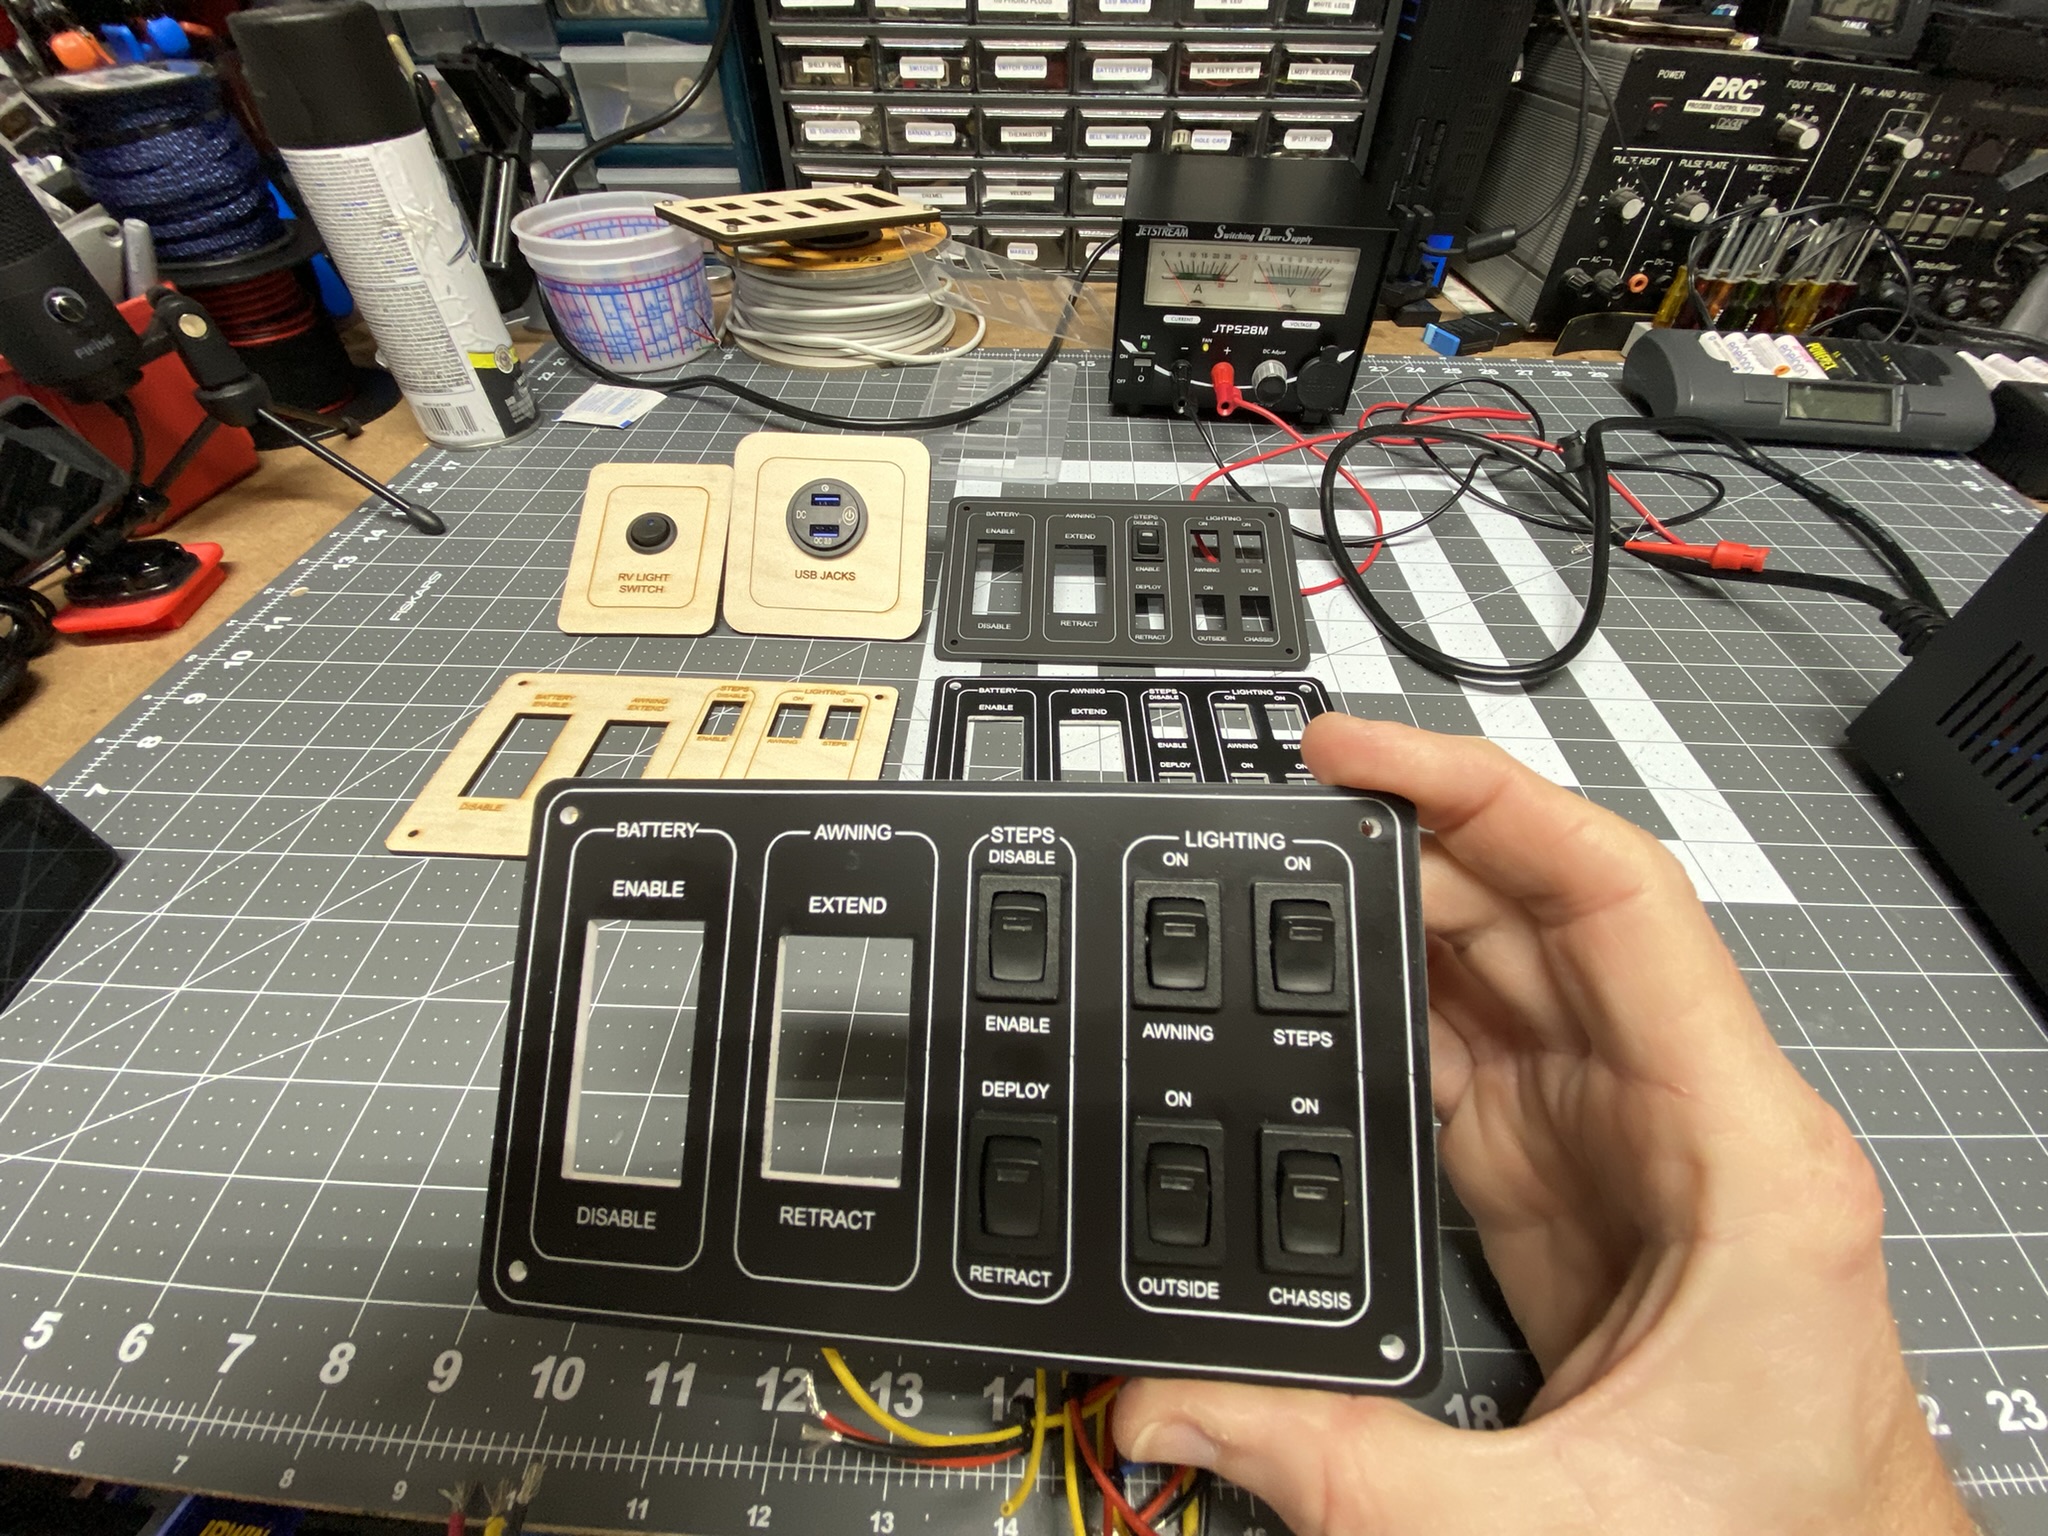
I have a K40 laser, with only a few modifications. It easily cuts and engraves acrylic sheets. I use laminate material, that's 3mm thick. The outer skins are black (smooth on one side, textured on the other. The inner material is white. Here are my settings: Raser Engrave 4mA @ 100 mm/sec., air assist OFF. Cut 10mA @ 4 mm/sec, air assist ON. Your settings may vary, so experiment on a small piece before starting a large project. The picture and video above, are of a panel I made for my previous RV before trading it. On our maiden voyage with the new RV, I left a box of wine we had just purchased, on the bedroom floor. When my wife extended the bedroom slide, the box got caught between the nightstand, and the raised floor. The result was a destroyed night stand. My wife was very upset, but I told her it was an easy fix. I'll show you my technique, and share the simple files I created using Inkscape, a free program that mimics the expensive Corel Draw software. One type of acrylic plastic was purchased from Delvie's Plastic. The black/white laminate is at this link. The one I prefer is from Trotec, linked below, along with all the other products used. |
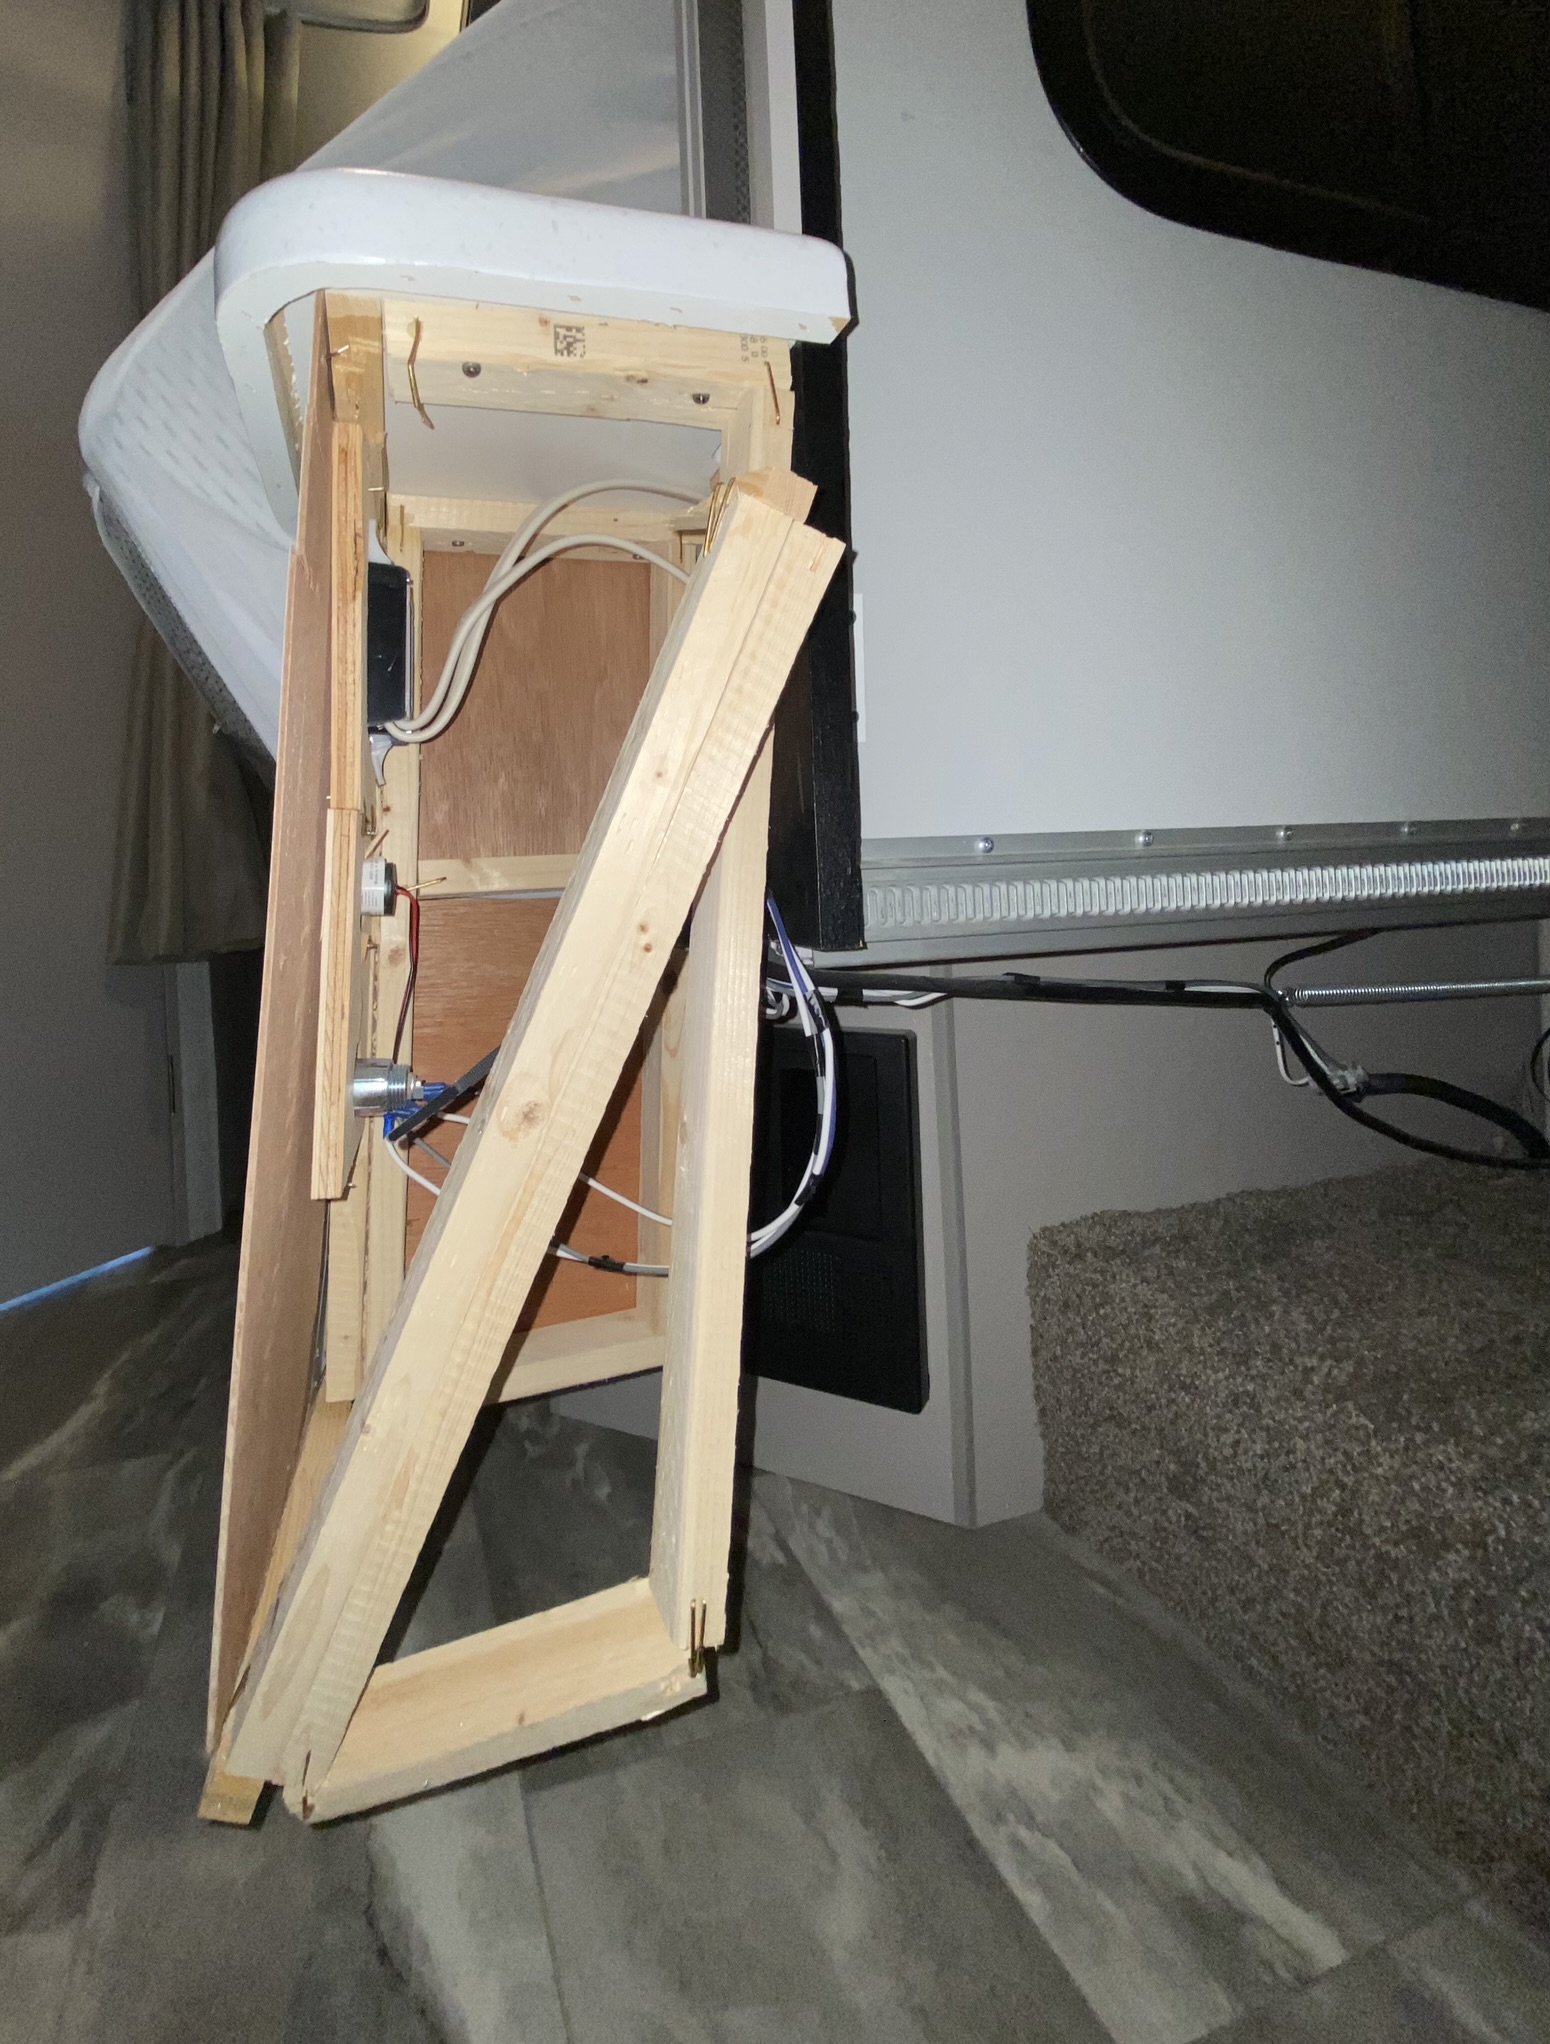
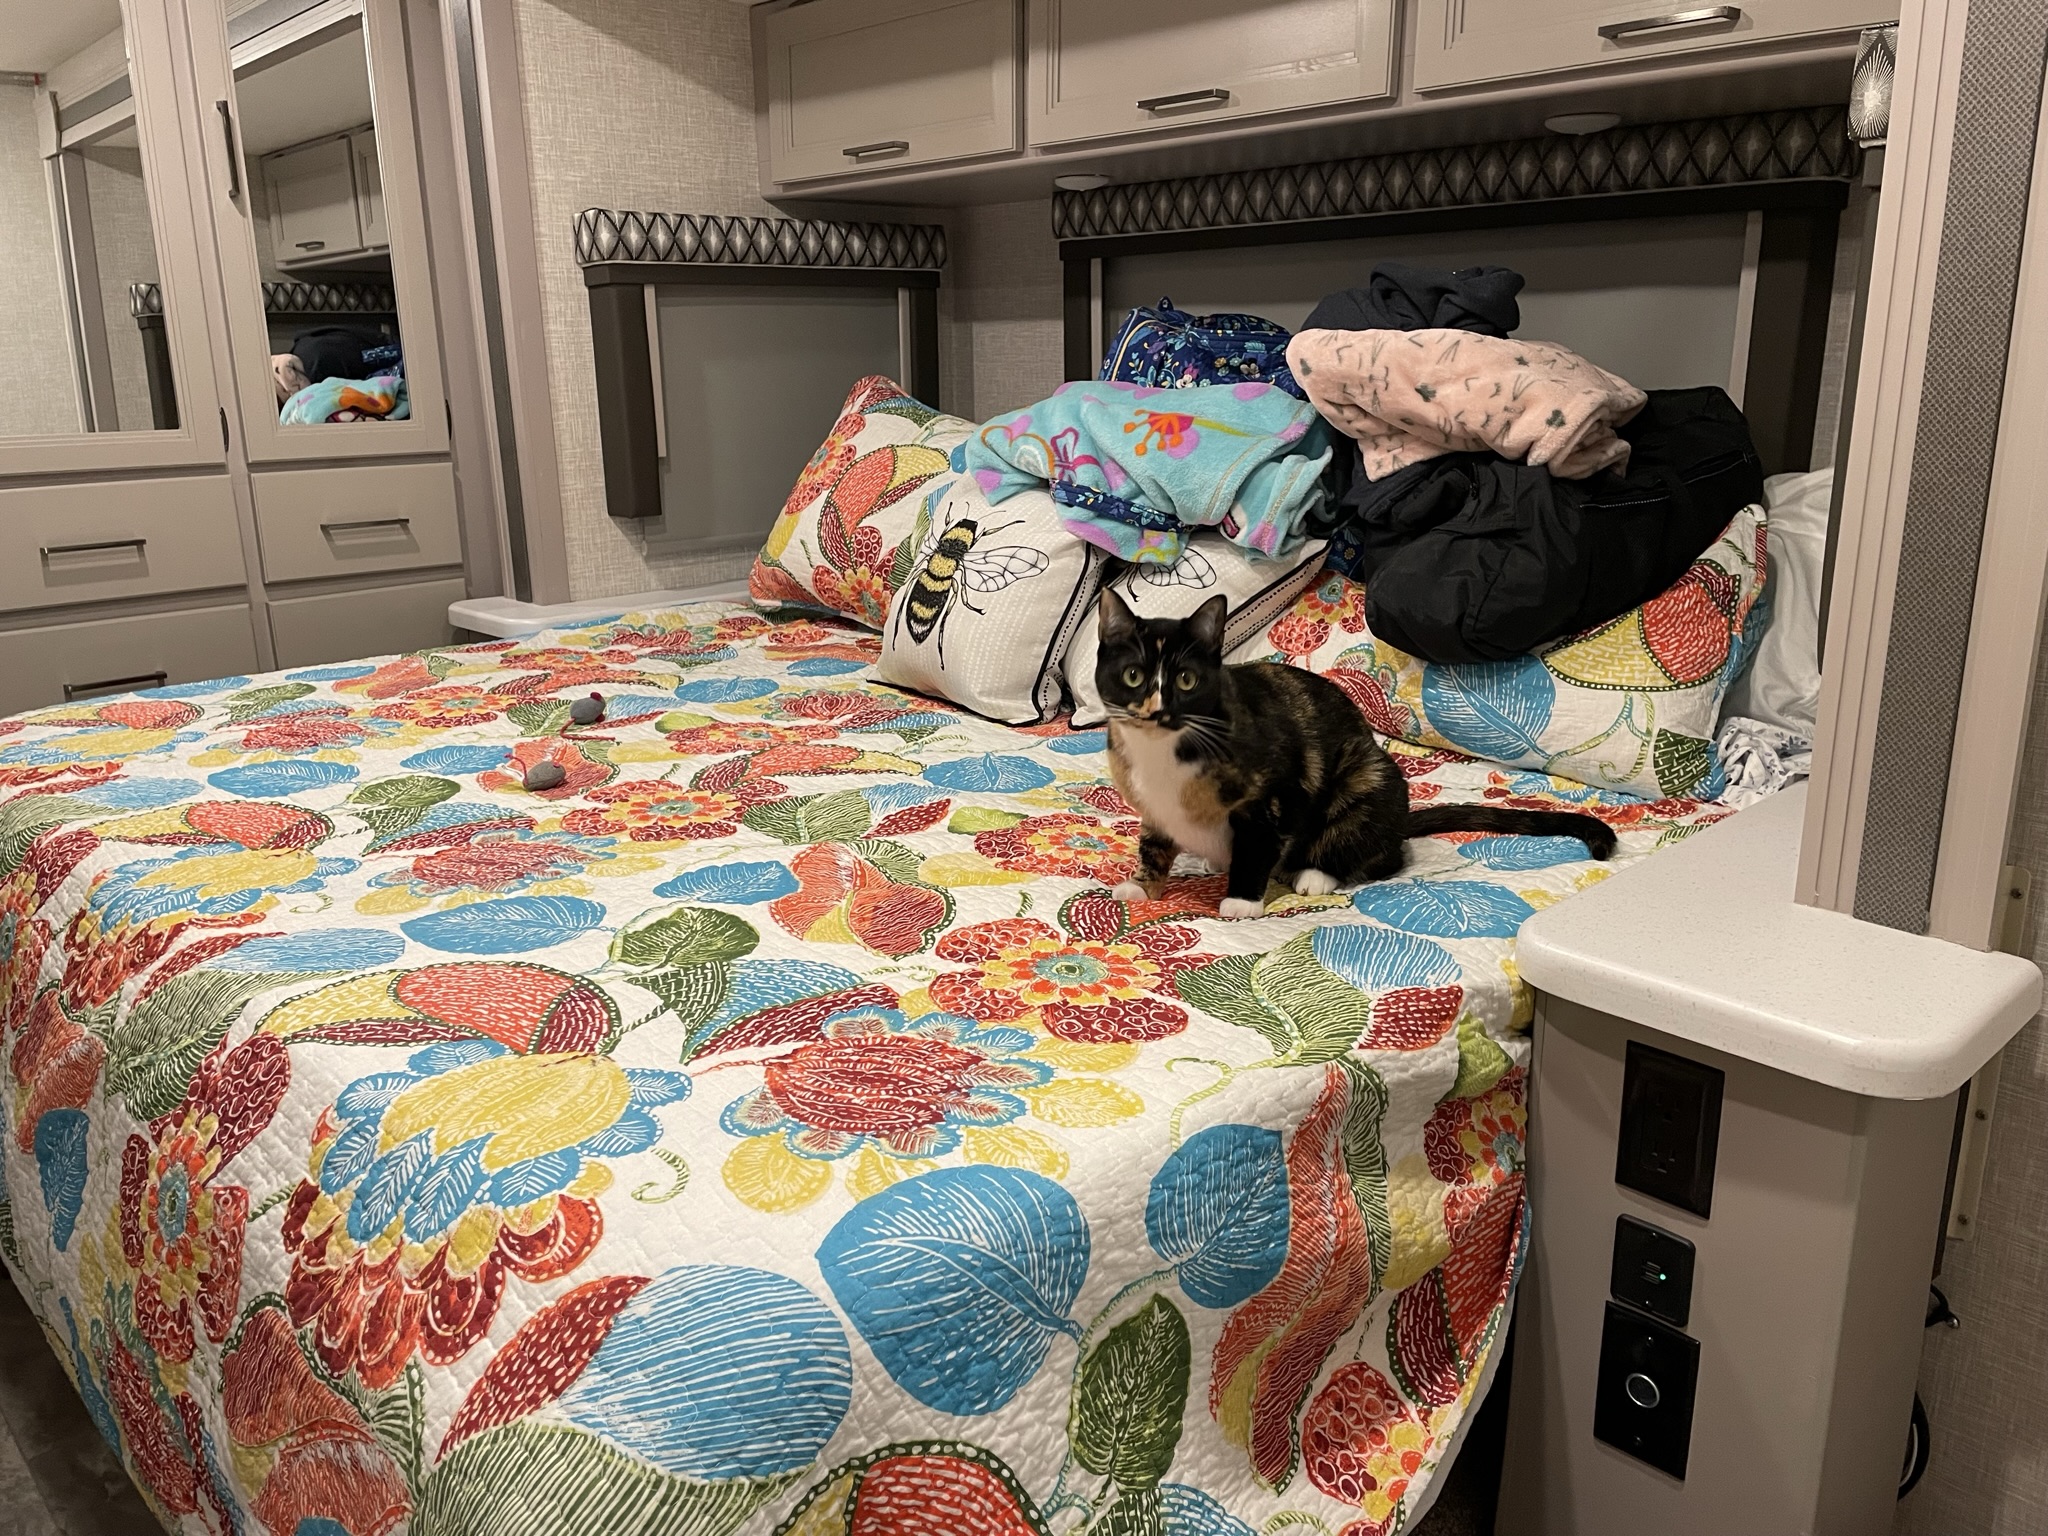 The nightstand on the right is attached to the shelf above, and floats a few inches above the floor. It moves as the slide is extended, or retracted. |
 During the slide being extended, my wife heard a horrible crunch. |
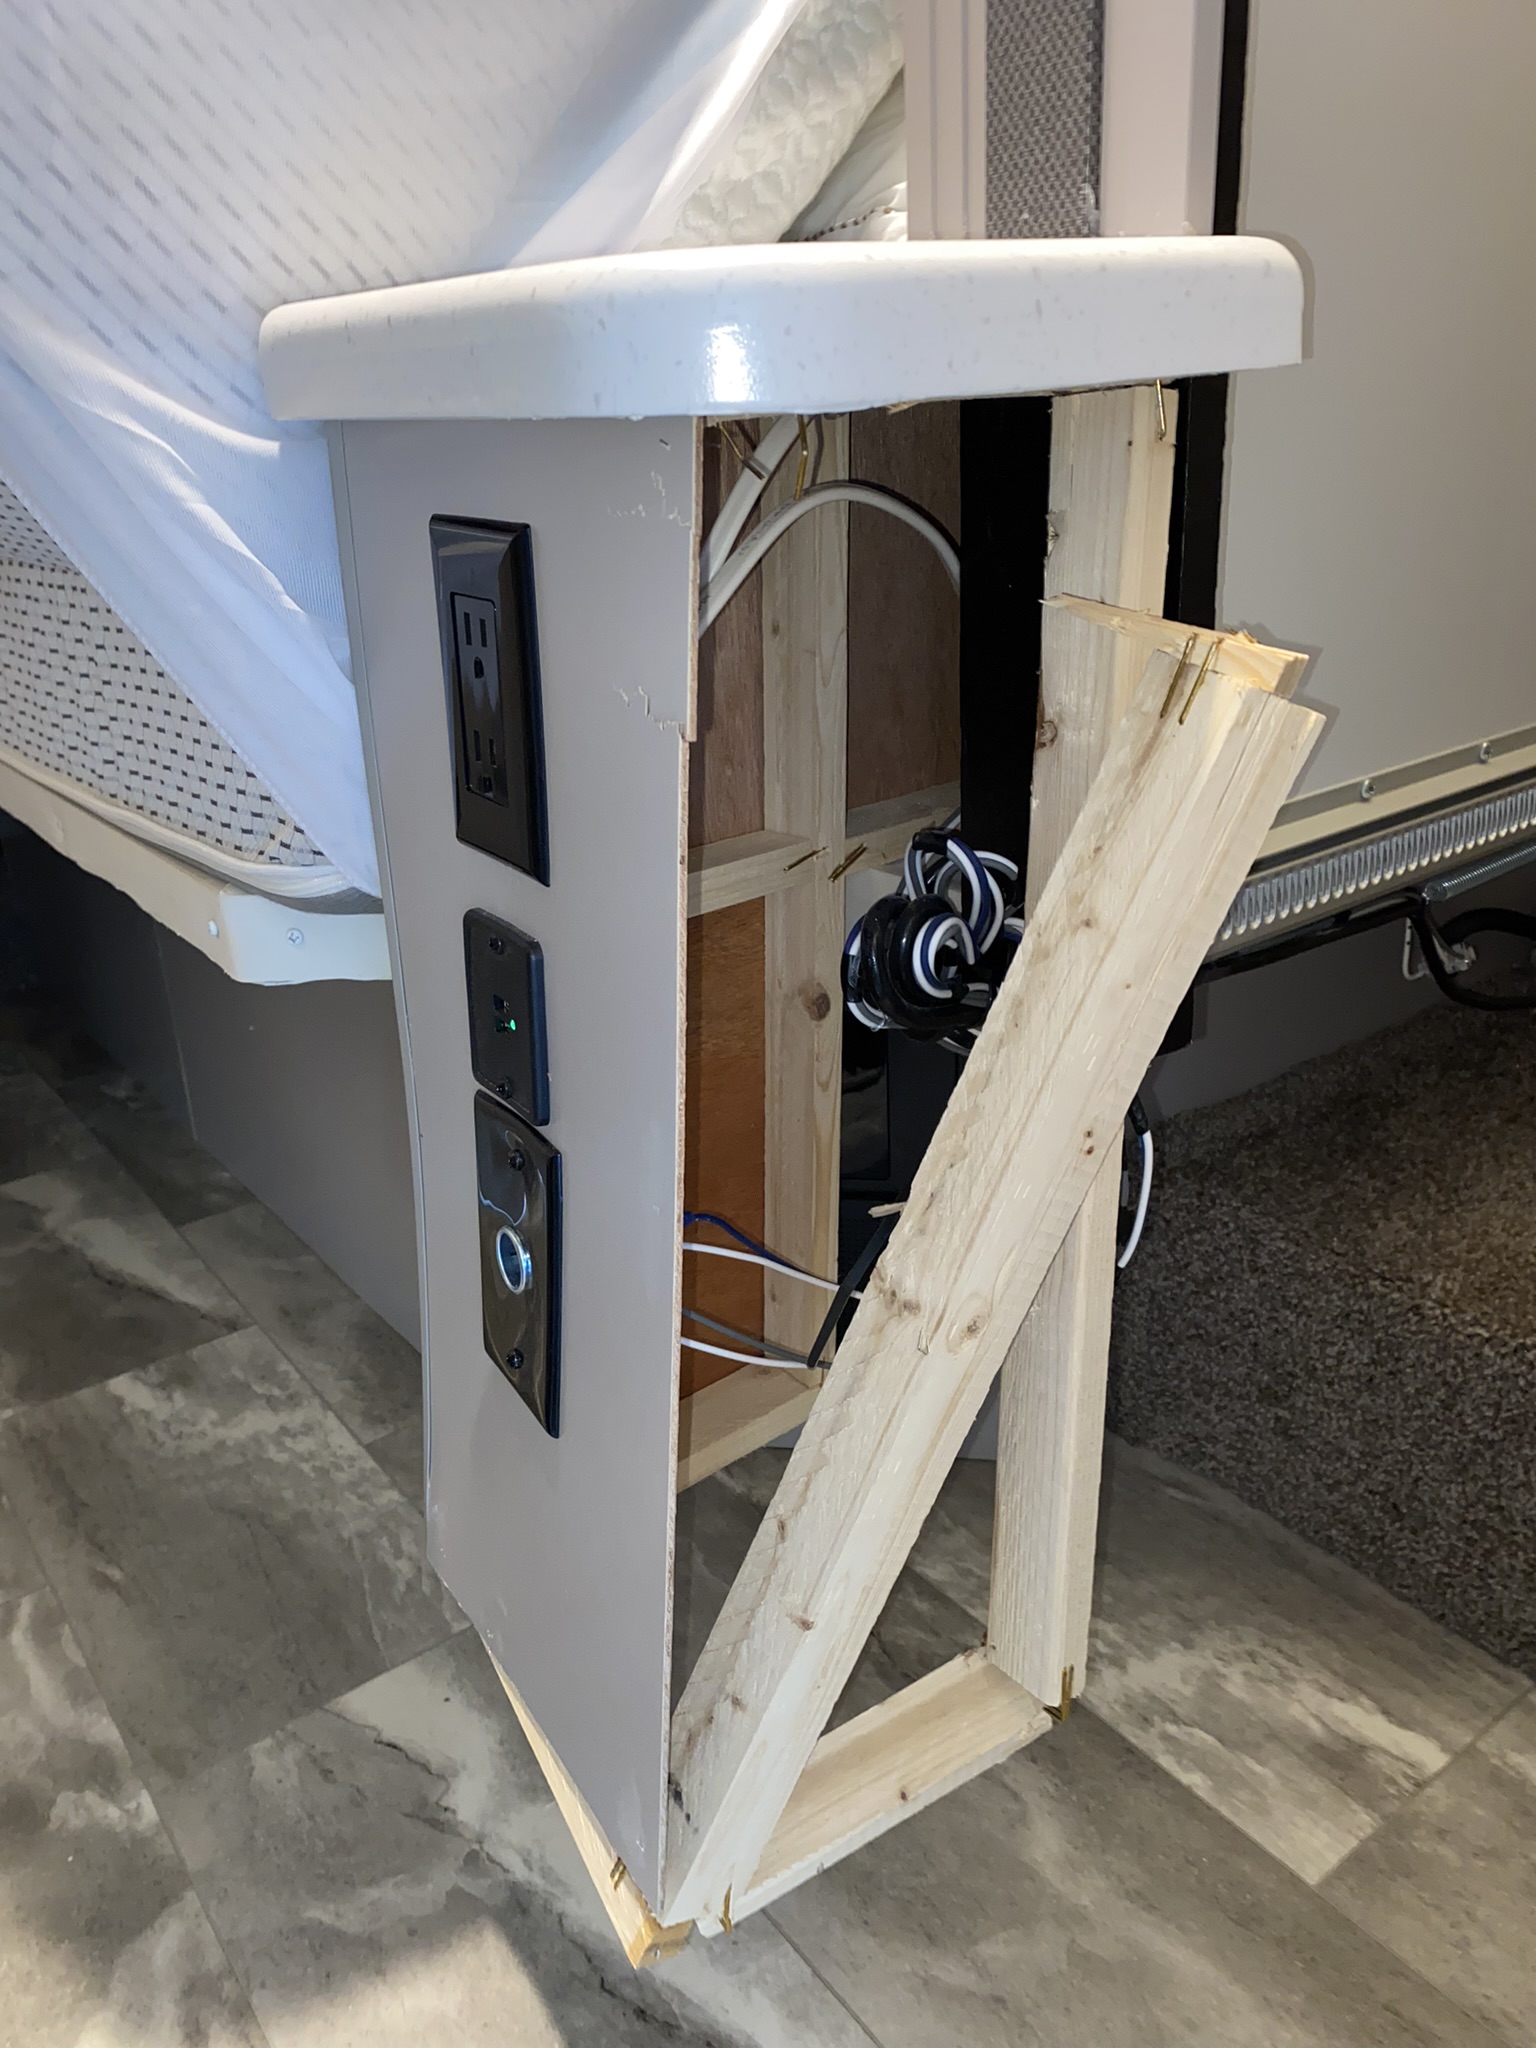 Really was flimsy construction, and a lot of wasted space. |
 I could have used luan plywood, painted it, and rebuilt the internal structure, but I looked at this as an opportunity to give it an upgrade. |
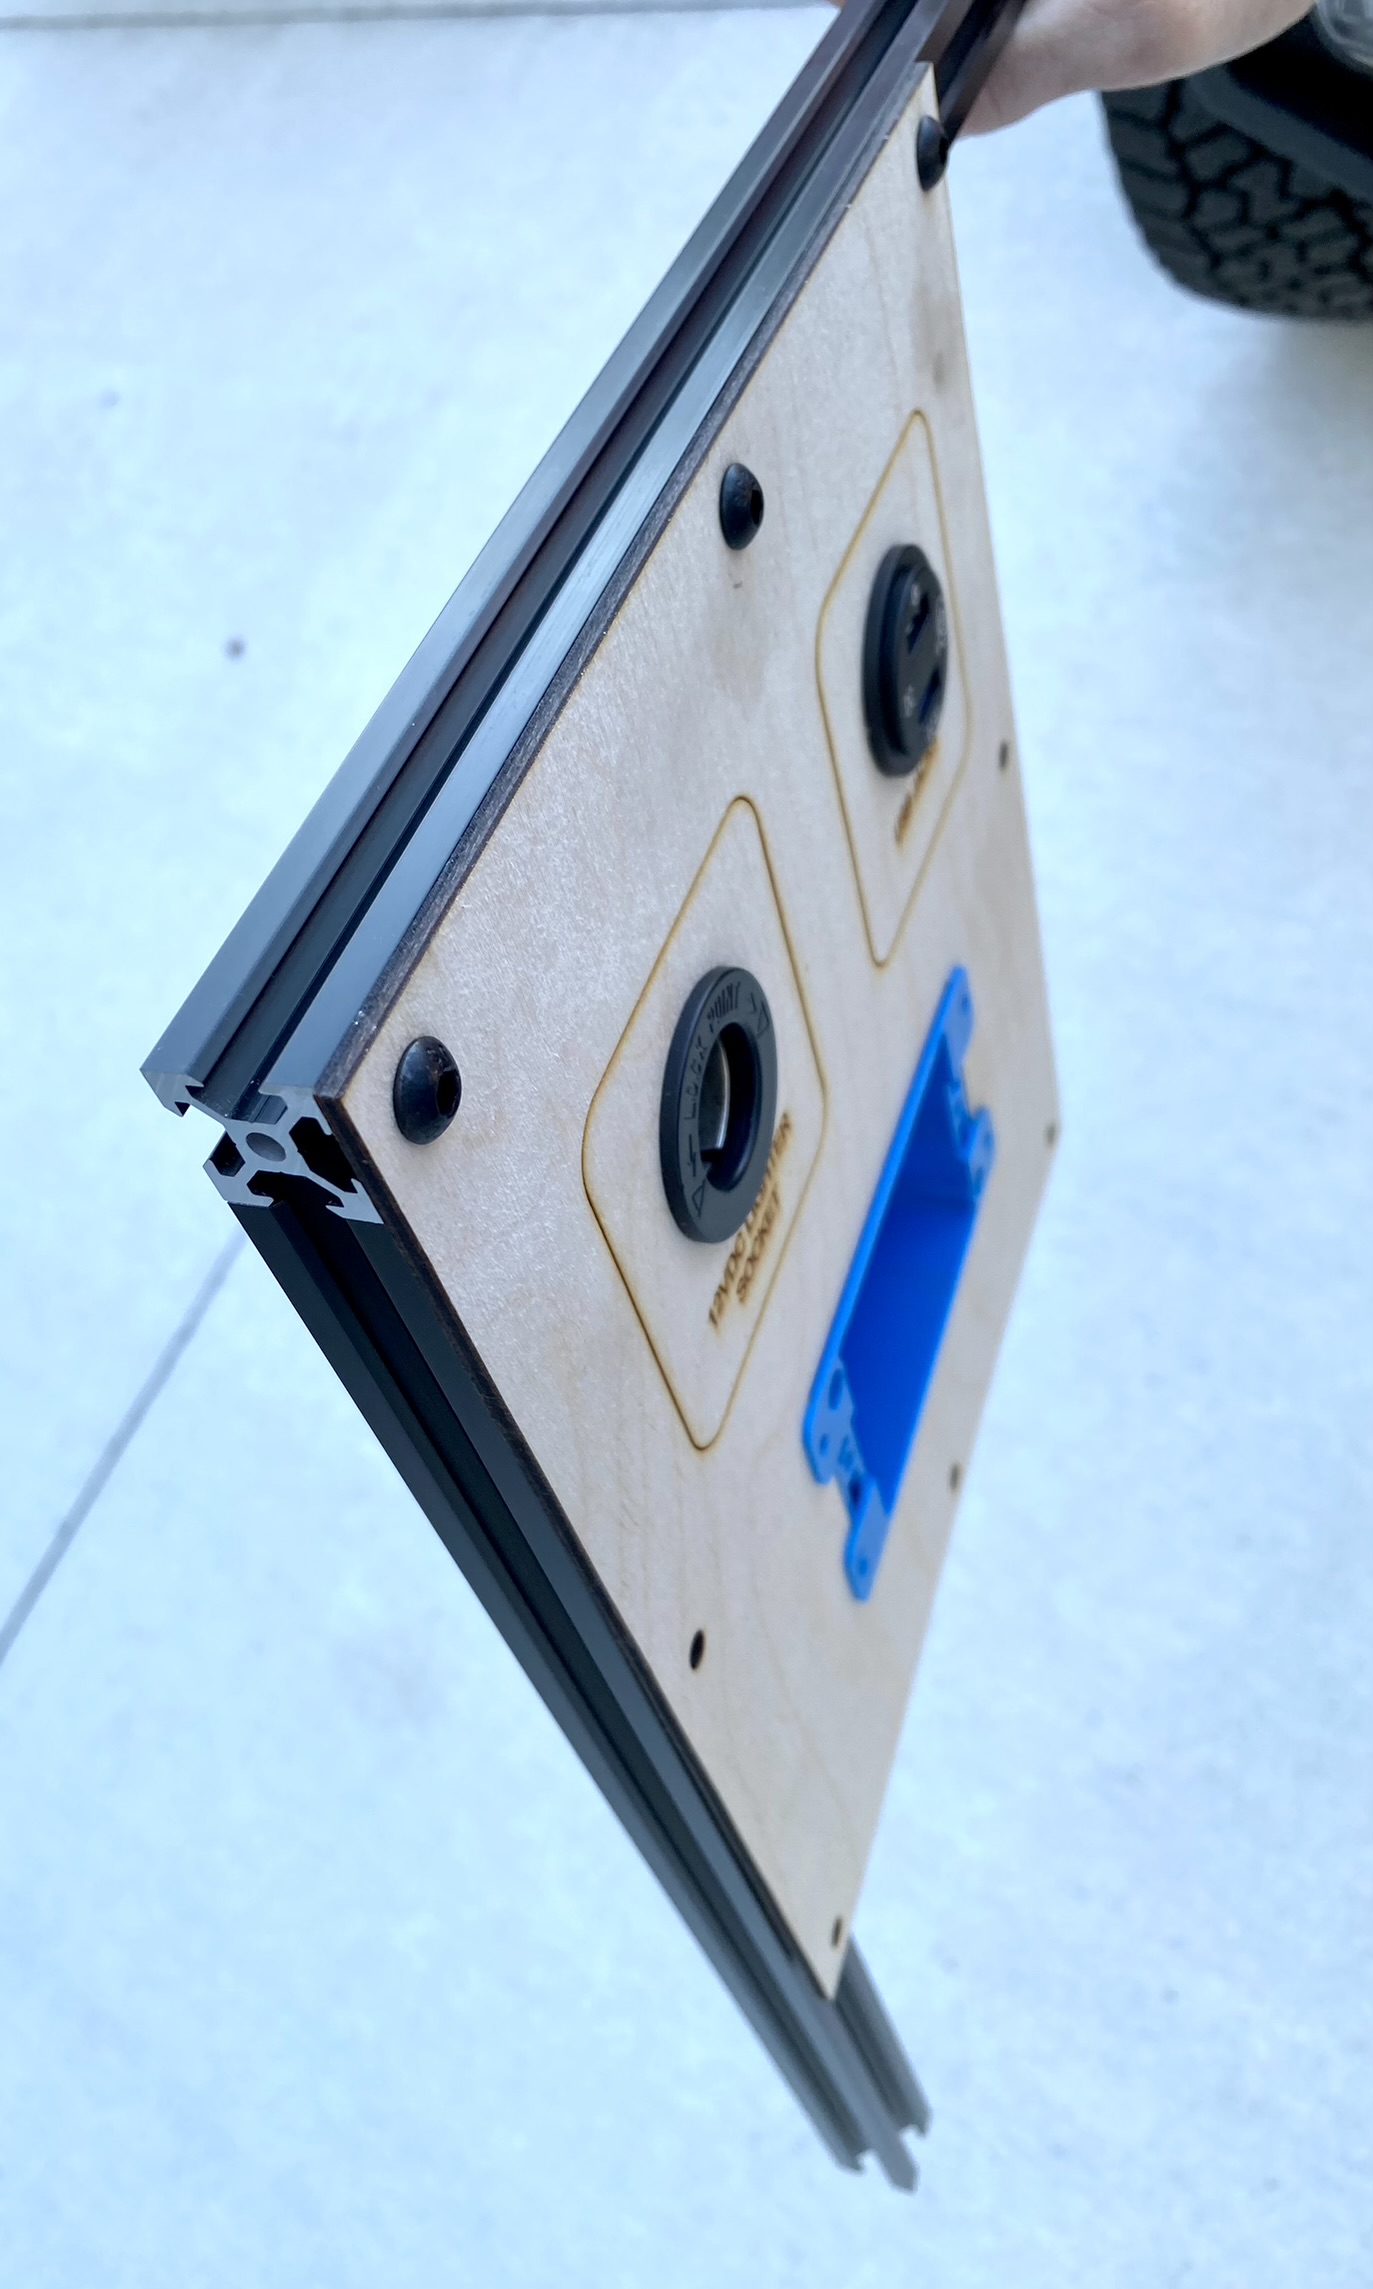
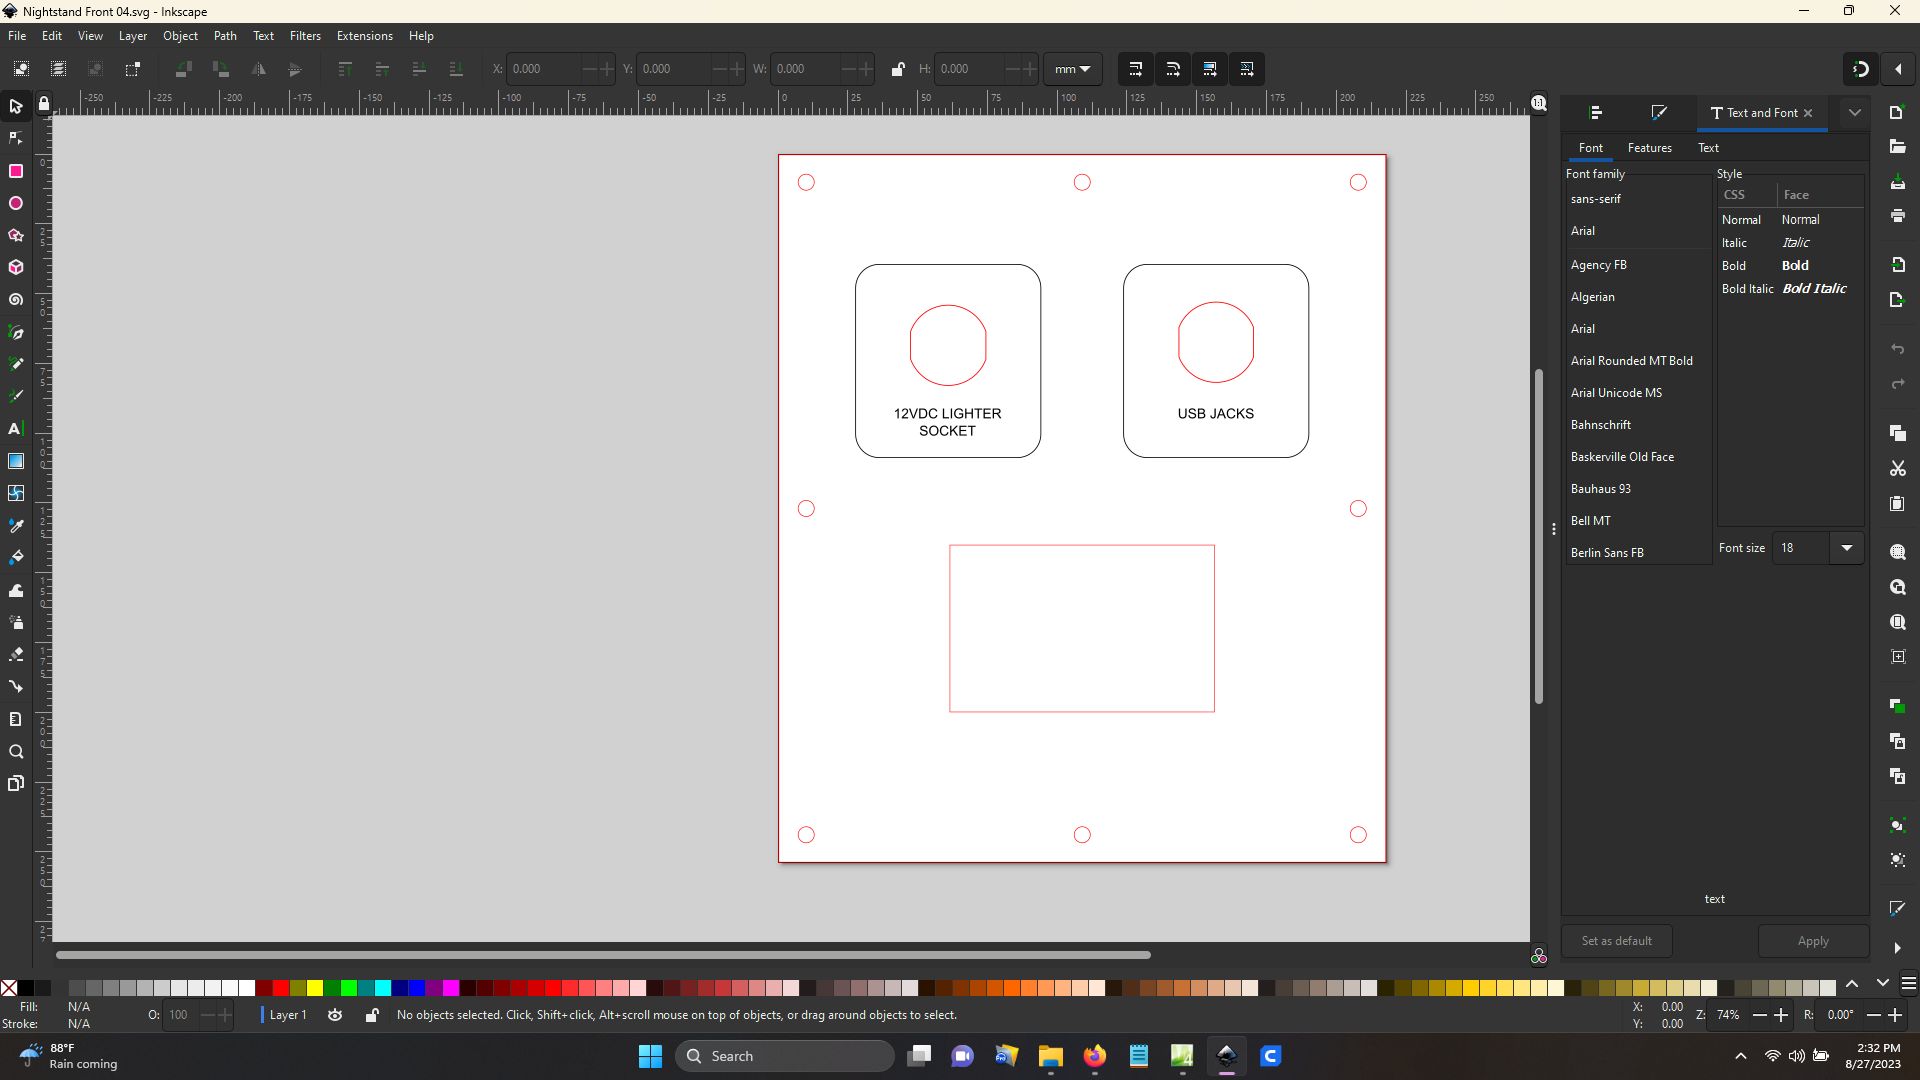 Inkscape is freeware. Excellent program, but I did need to watch a few YouTube videos to use some of the tools. The layout is very simple. The circles around the perimeter are sized for mounting hardware, and spaced to fit the 2020 extruded aluminum pieces. Here's the file for the front panel - link. Here's the file for the side panel. |
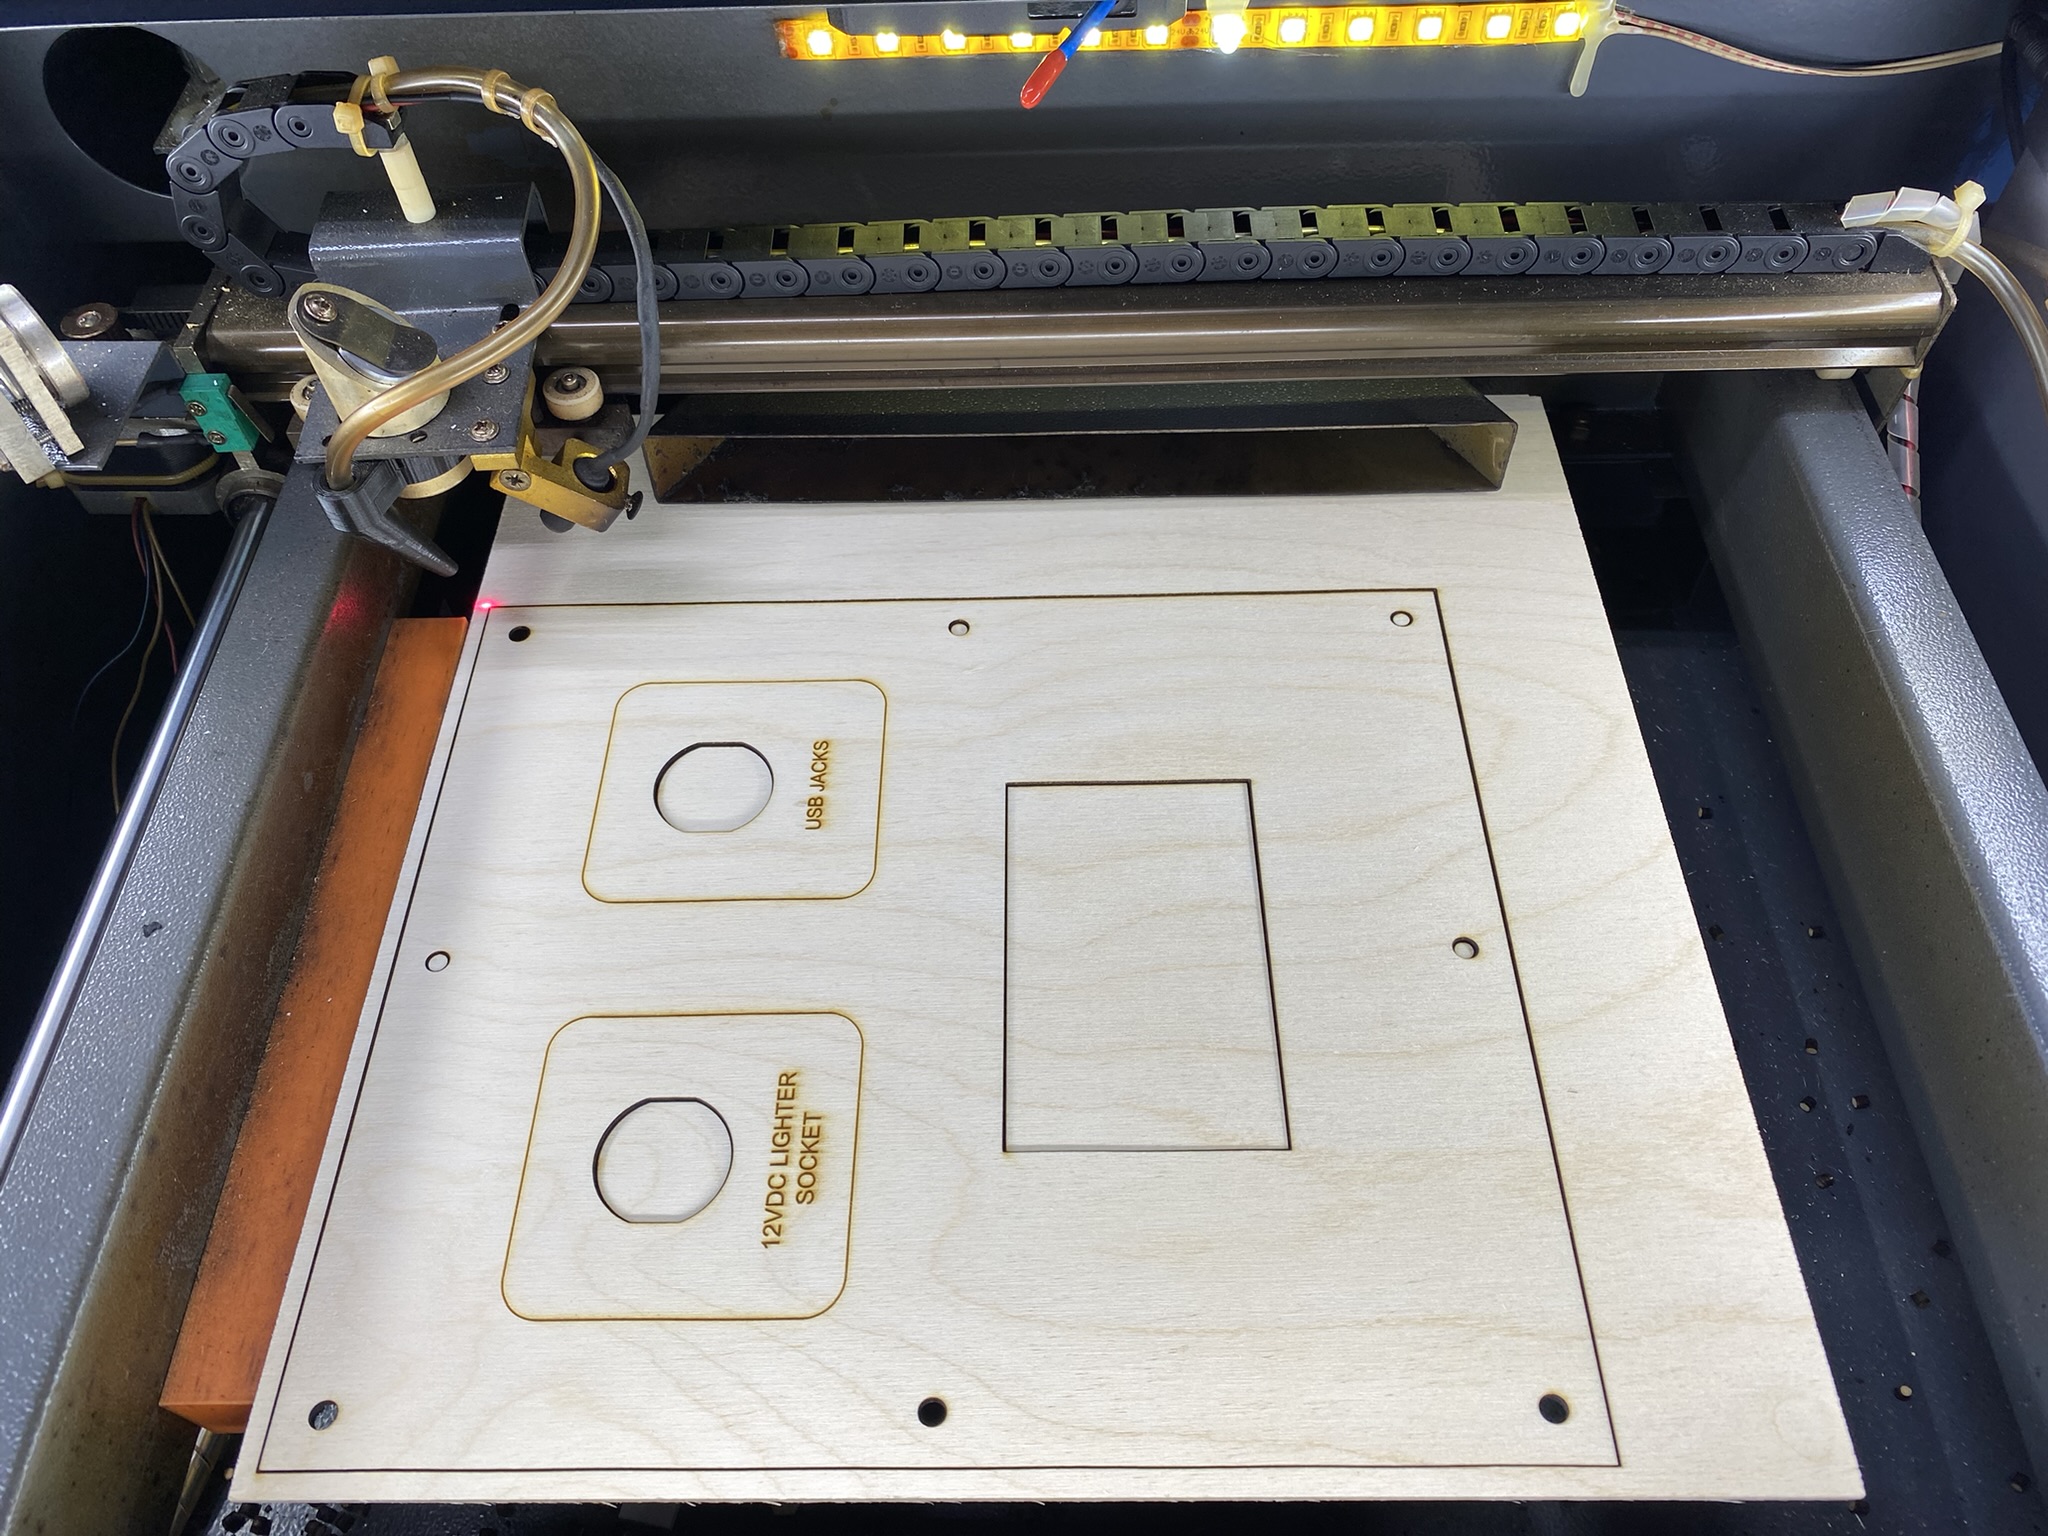 The laminate is a more expensive material. So for testing, I used a less expensive piece of 3mm birch plywood. |
 Straight off the laser. The engraving looks good, and the cuts are clean. |
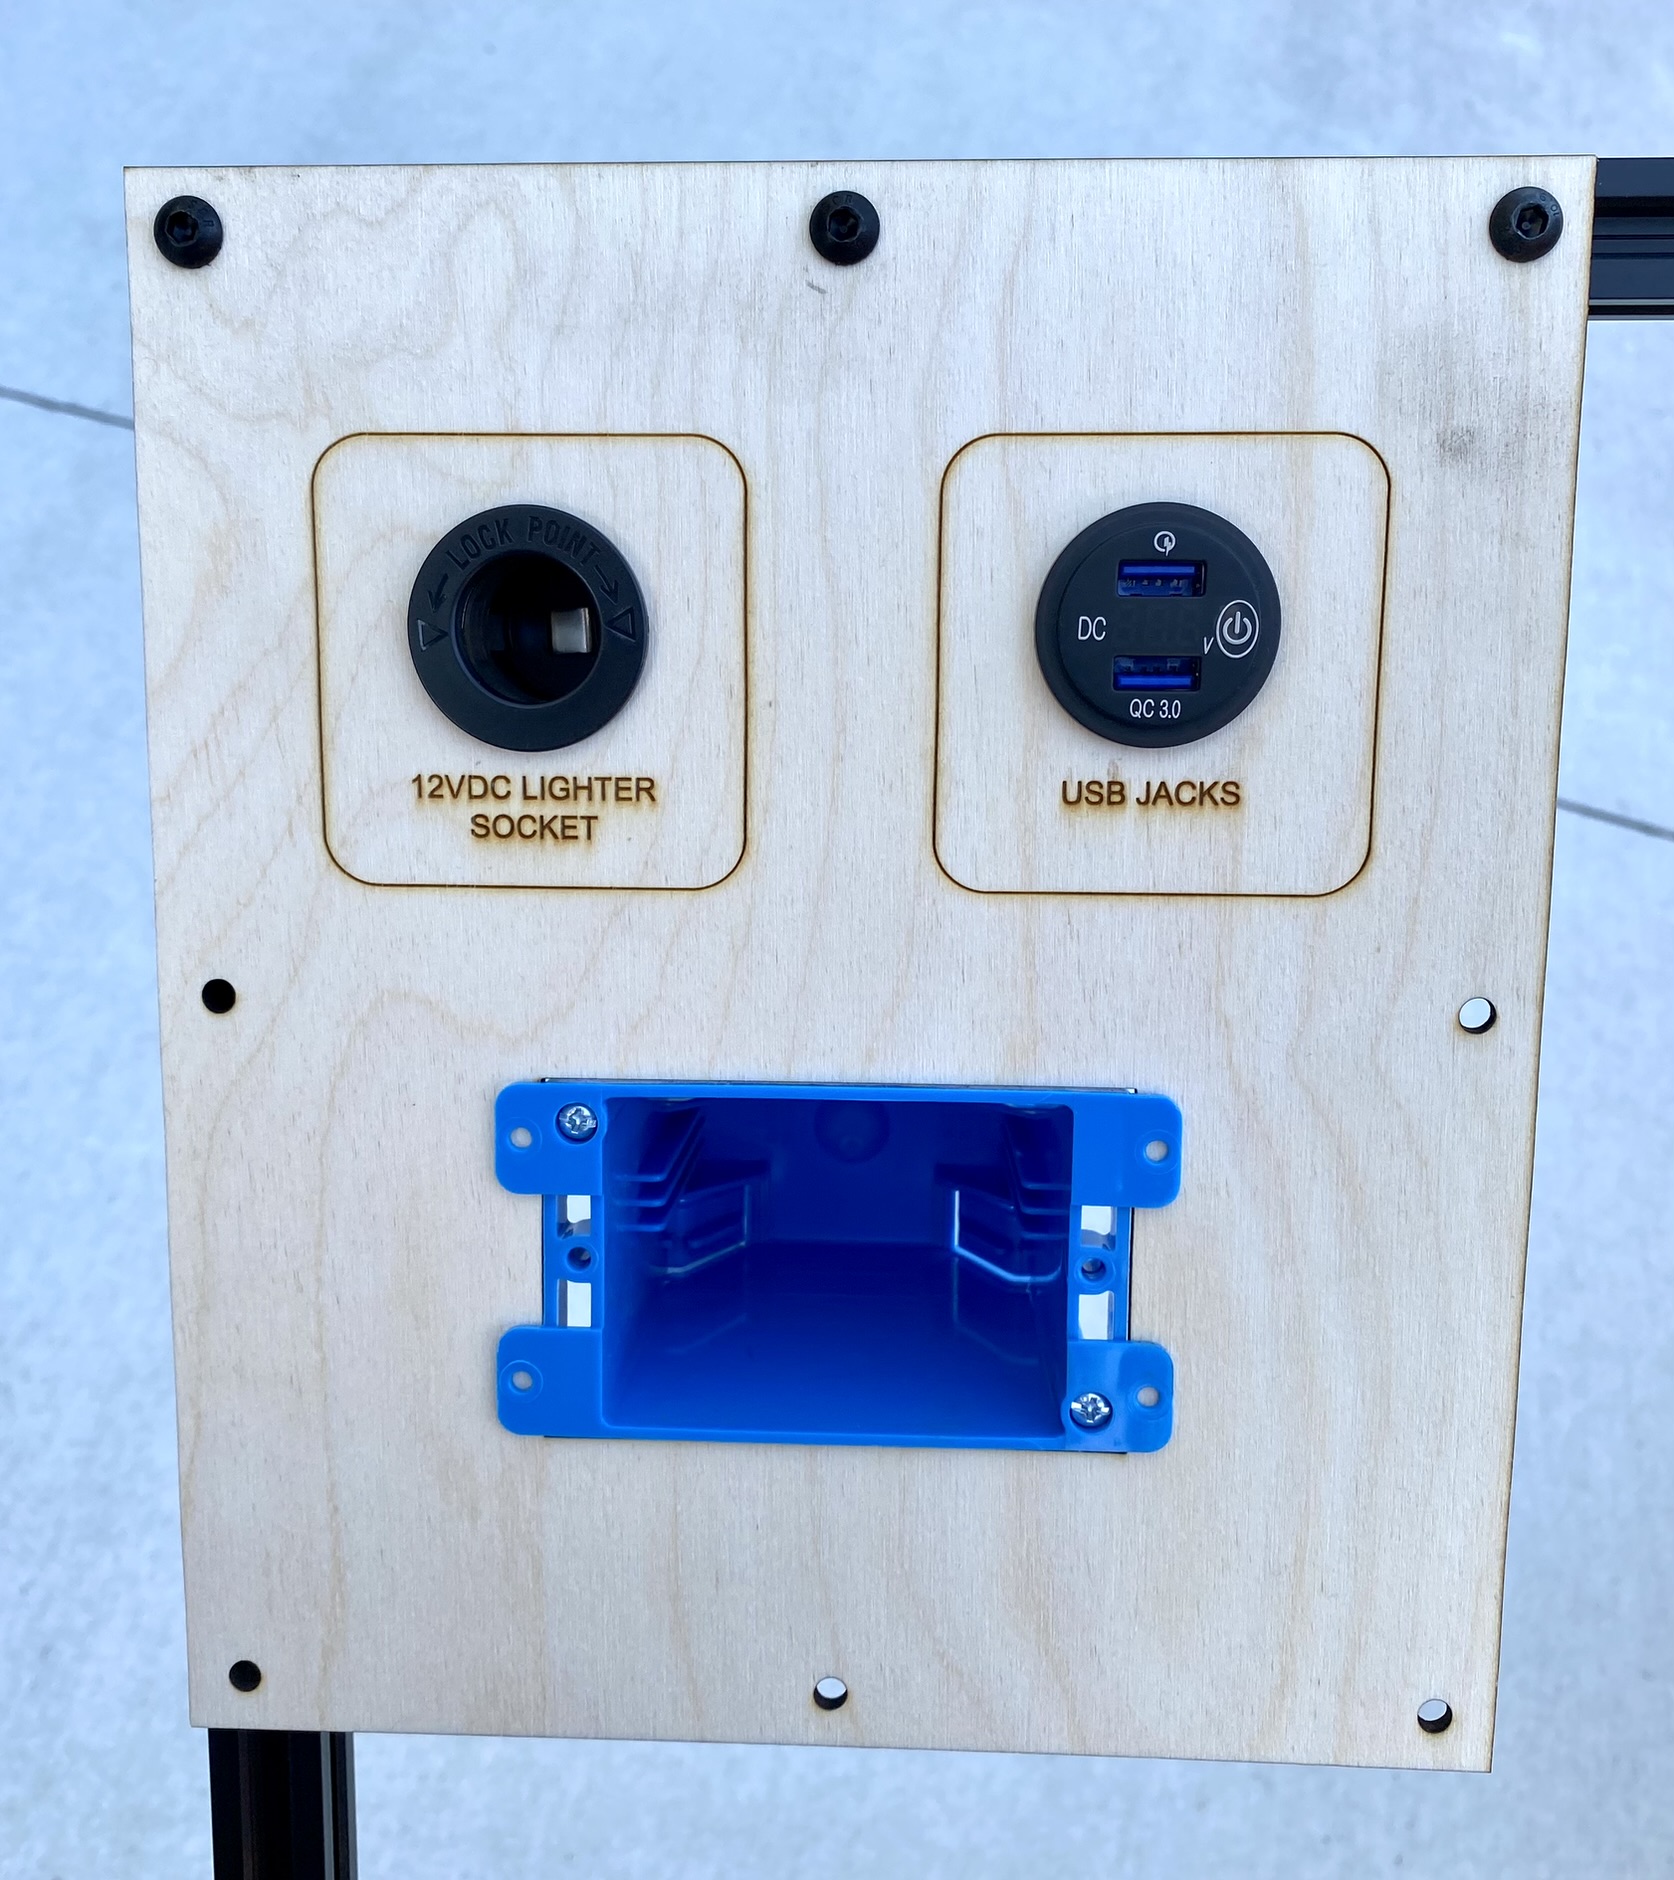 If I just wanted to use a wood panel, I would now sand this with 300 grit, blast it with compressed air, stain it with gel stain, and spray it with a few coats of clear. But this was a fit check, and everything is butter. |
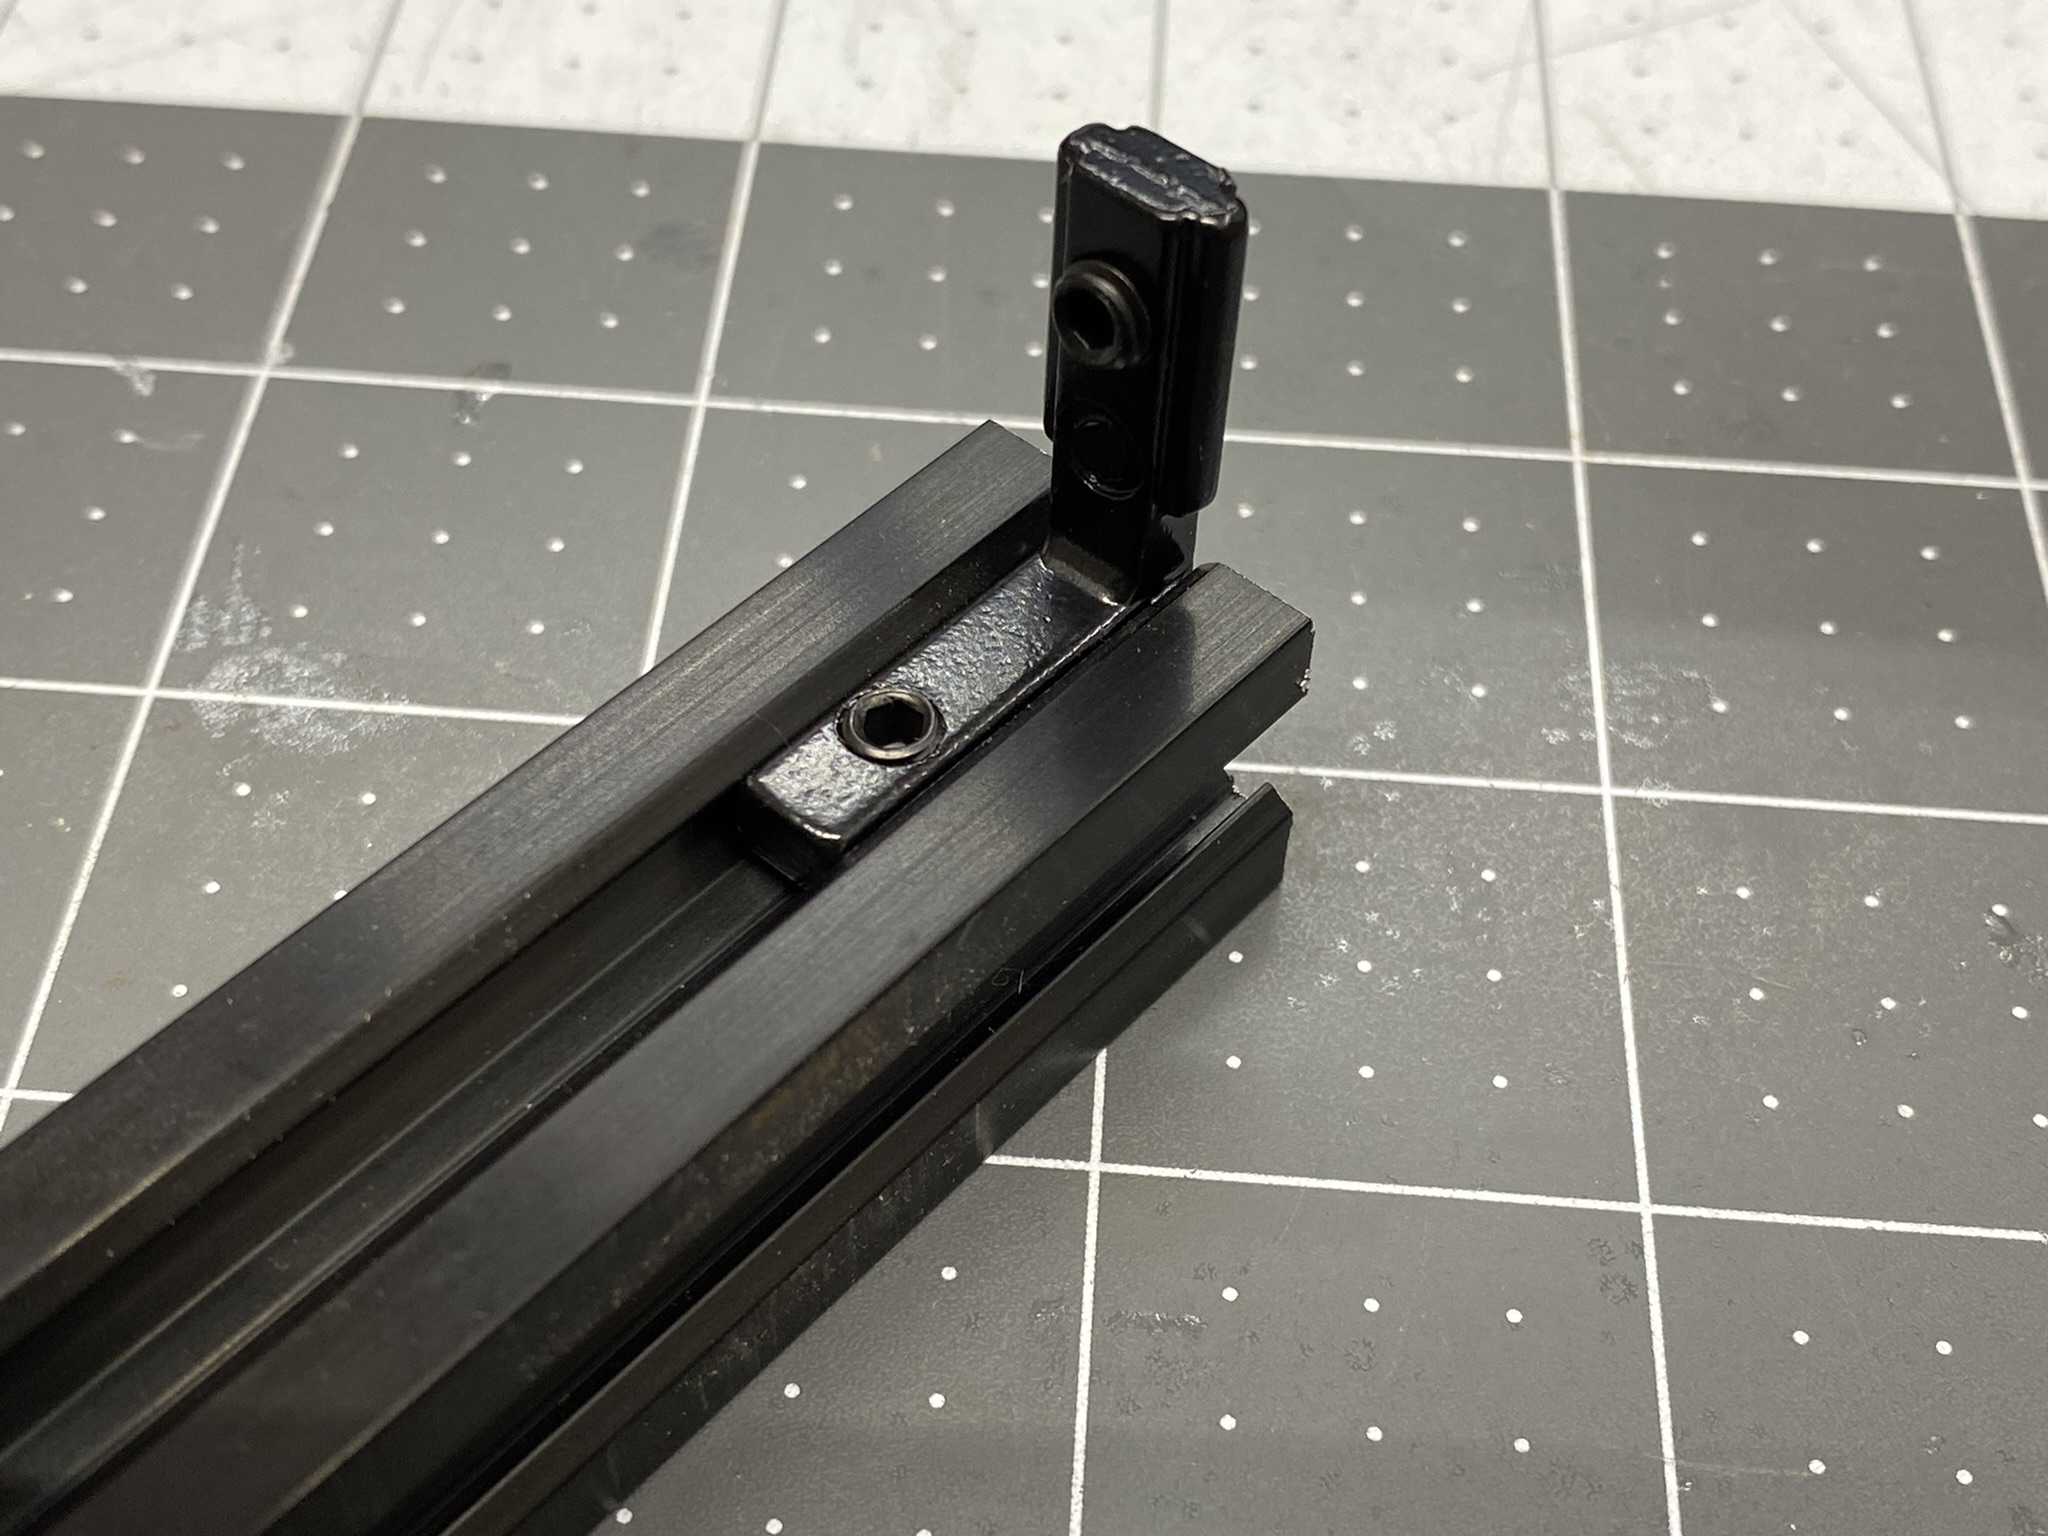 2020 extruded aluminum is awesome stuff. It's a smaller size than the common 8020 material, but well suited for this project. The sections are held together with brackets with set screws. |
 The second piece slides onto the bracket, and the set screw tightened. That easy. |
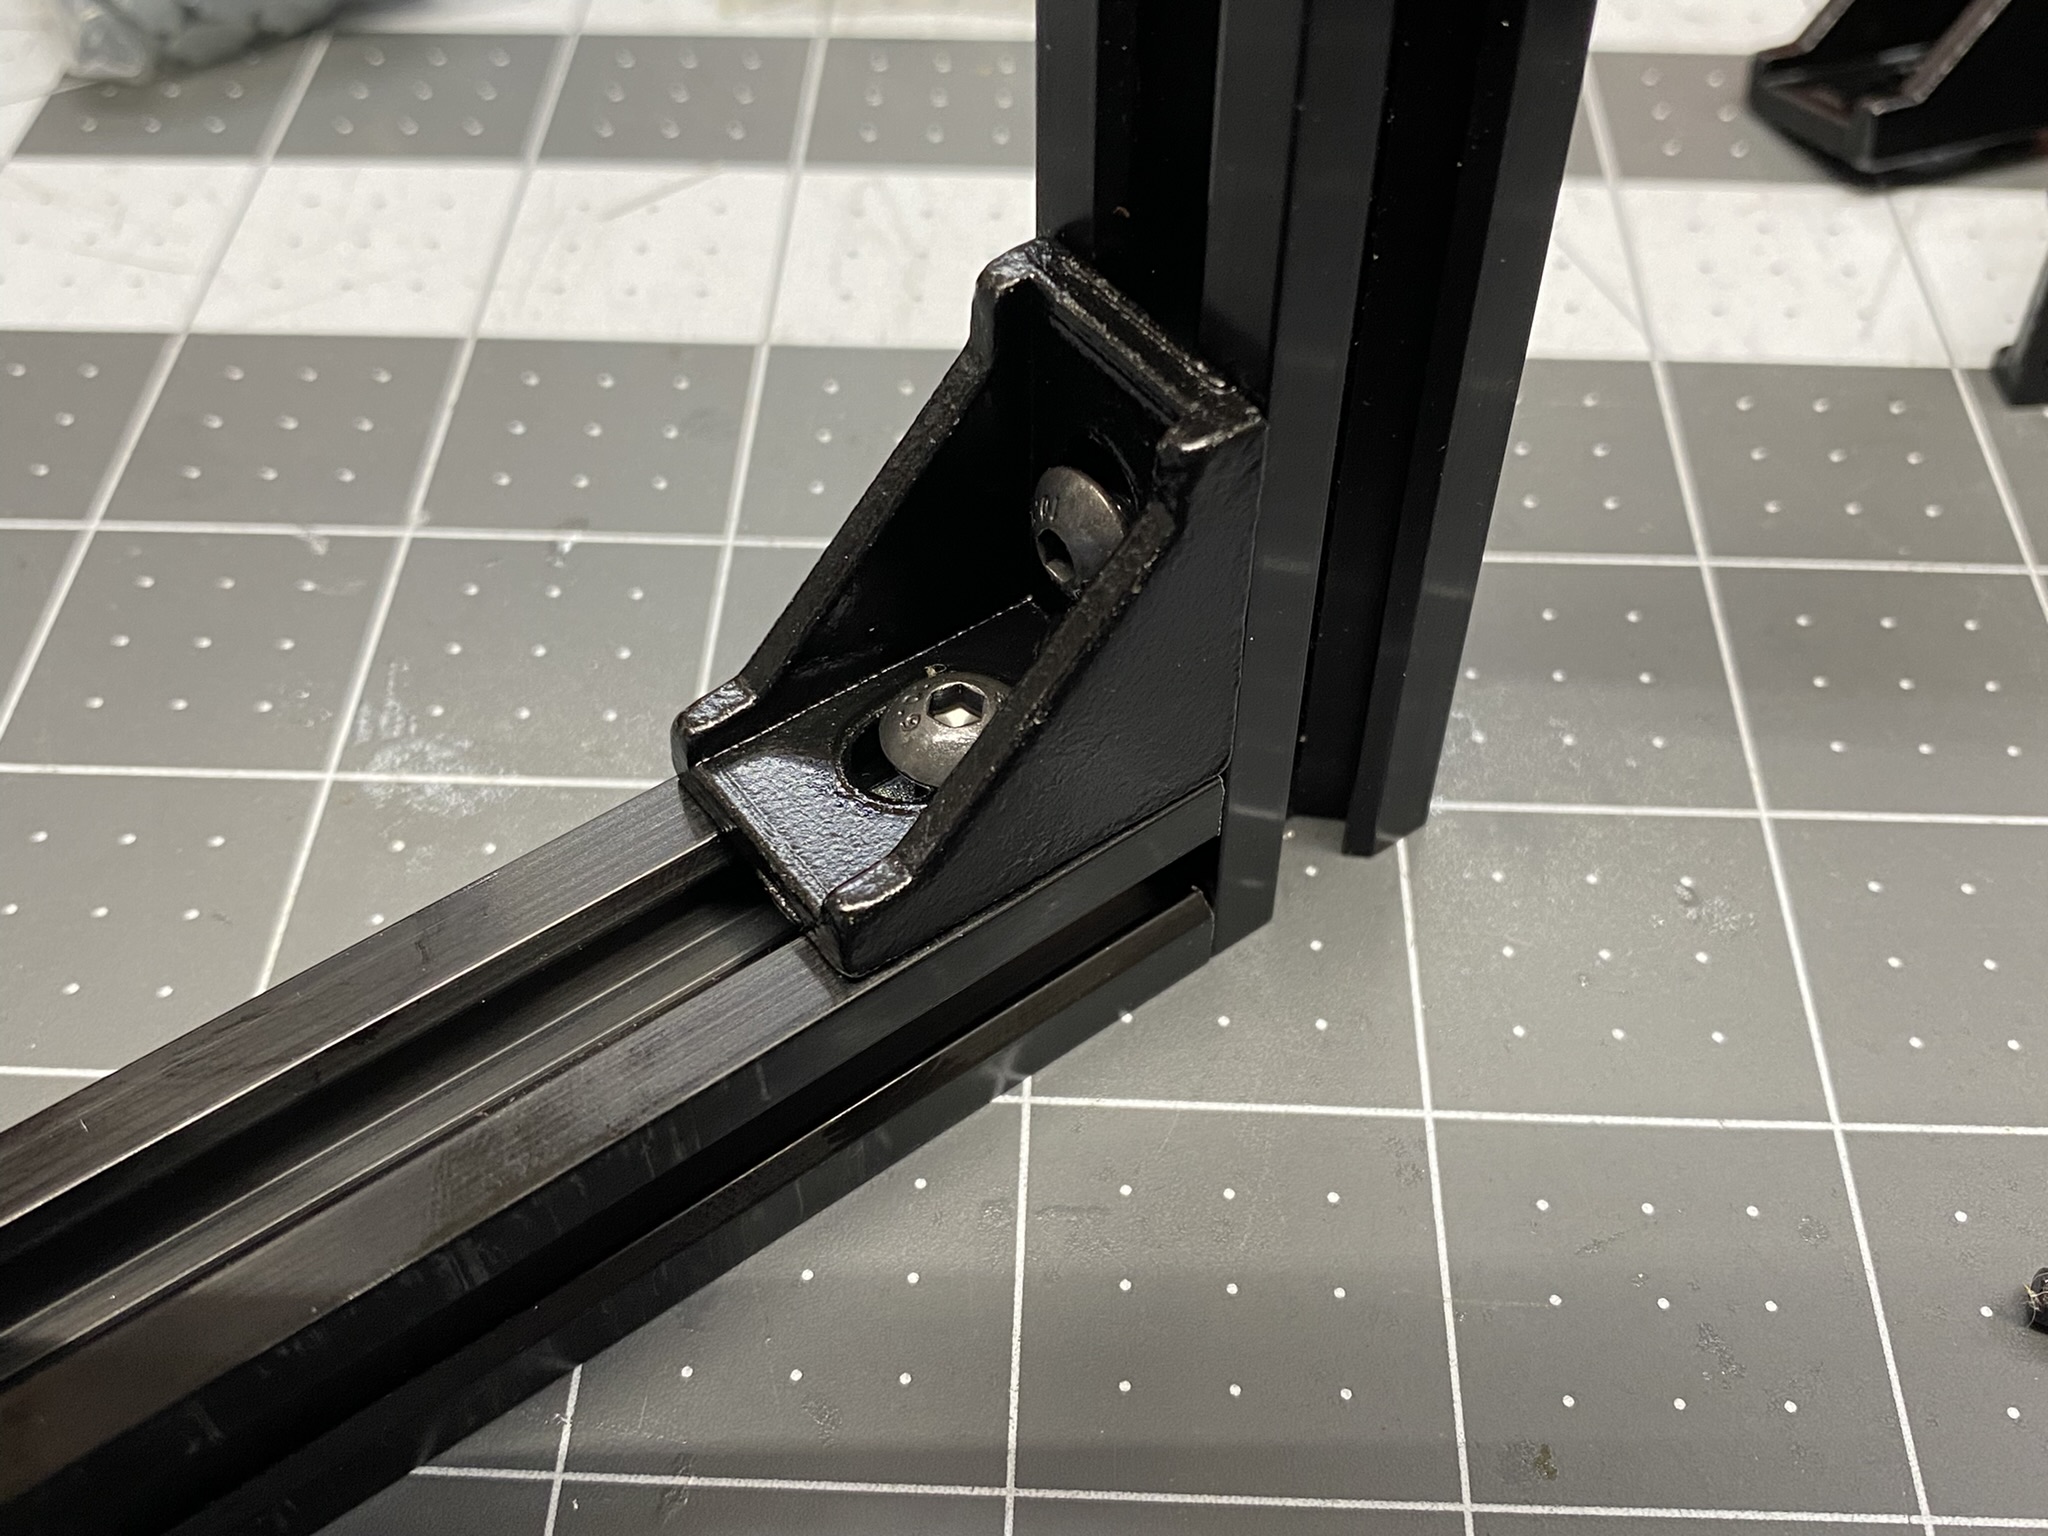
 These are another type of corner bracket. Little more strength, but could get in the way on some projects. |
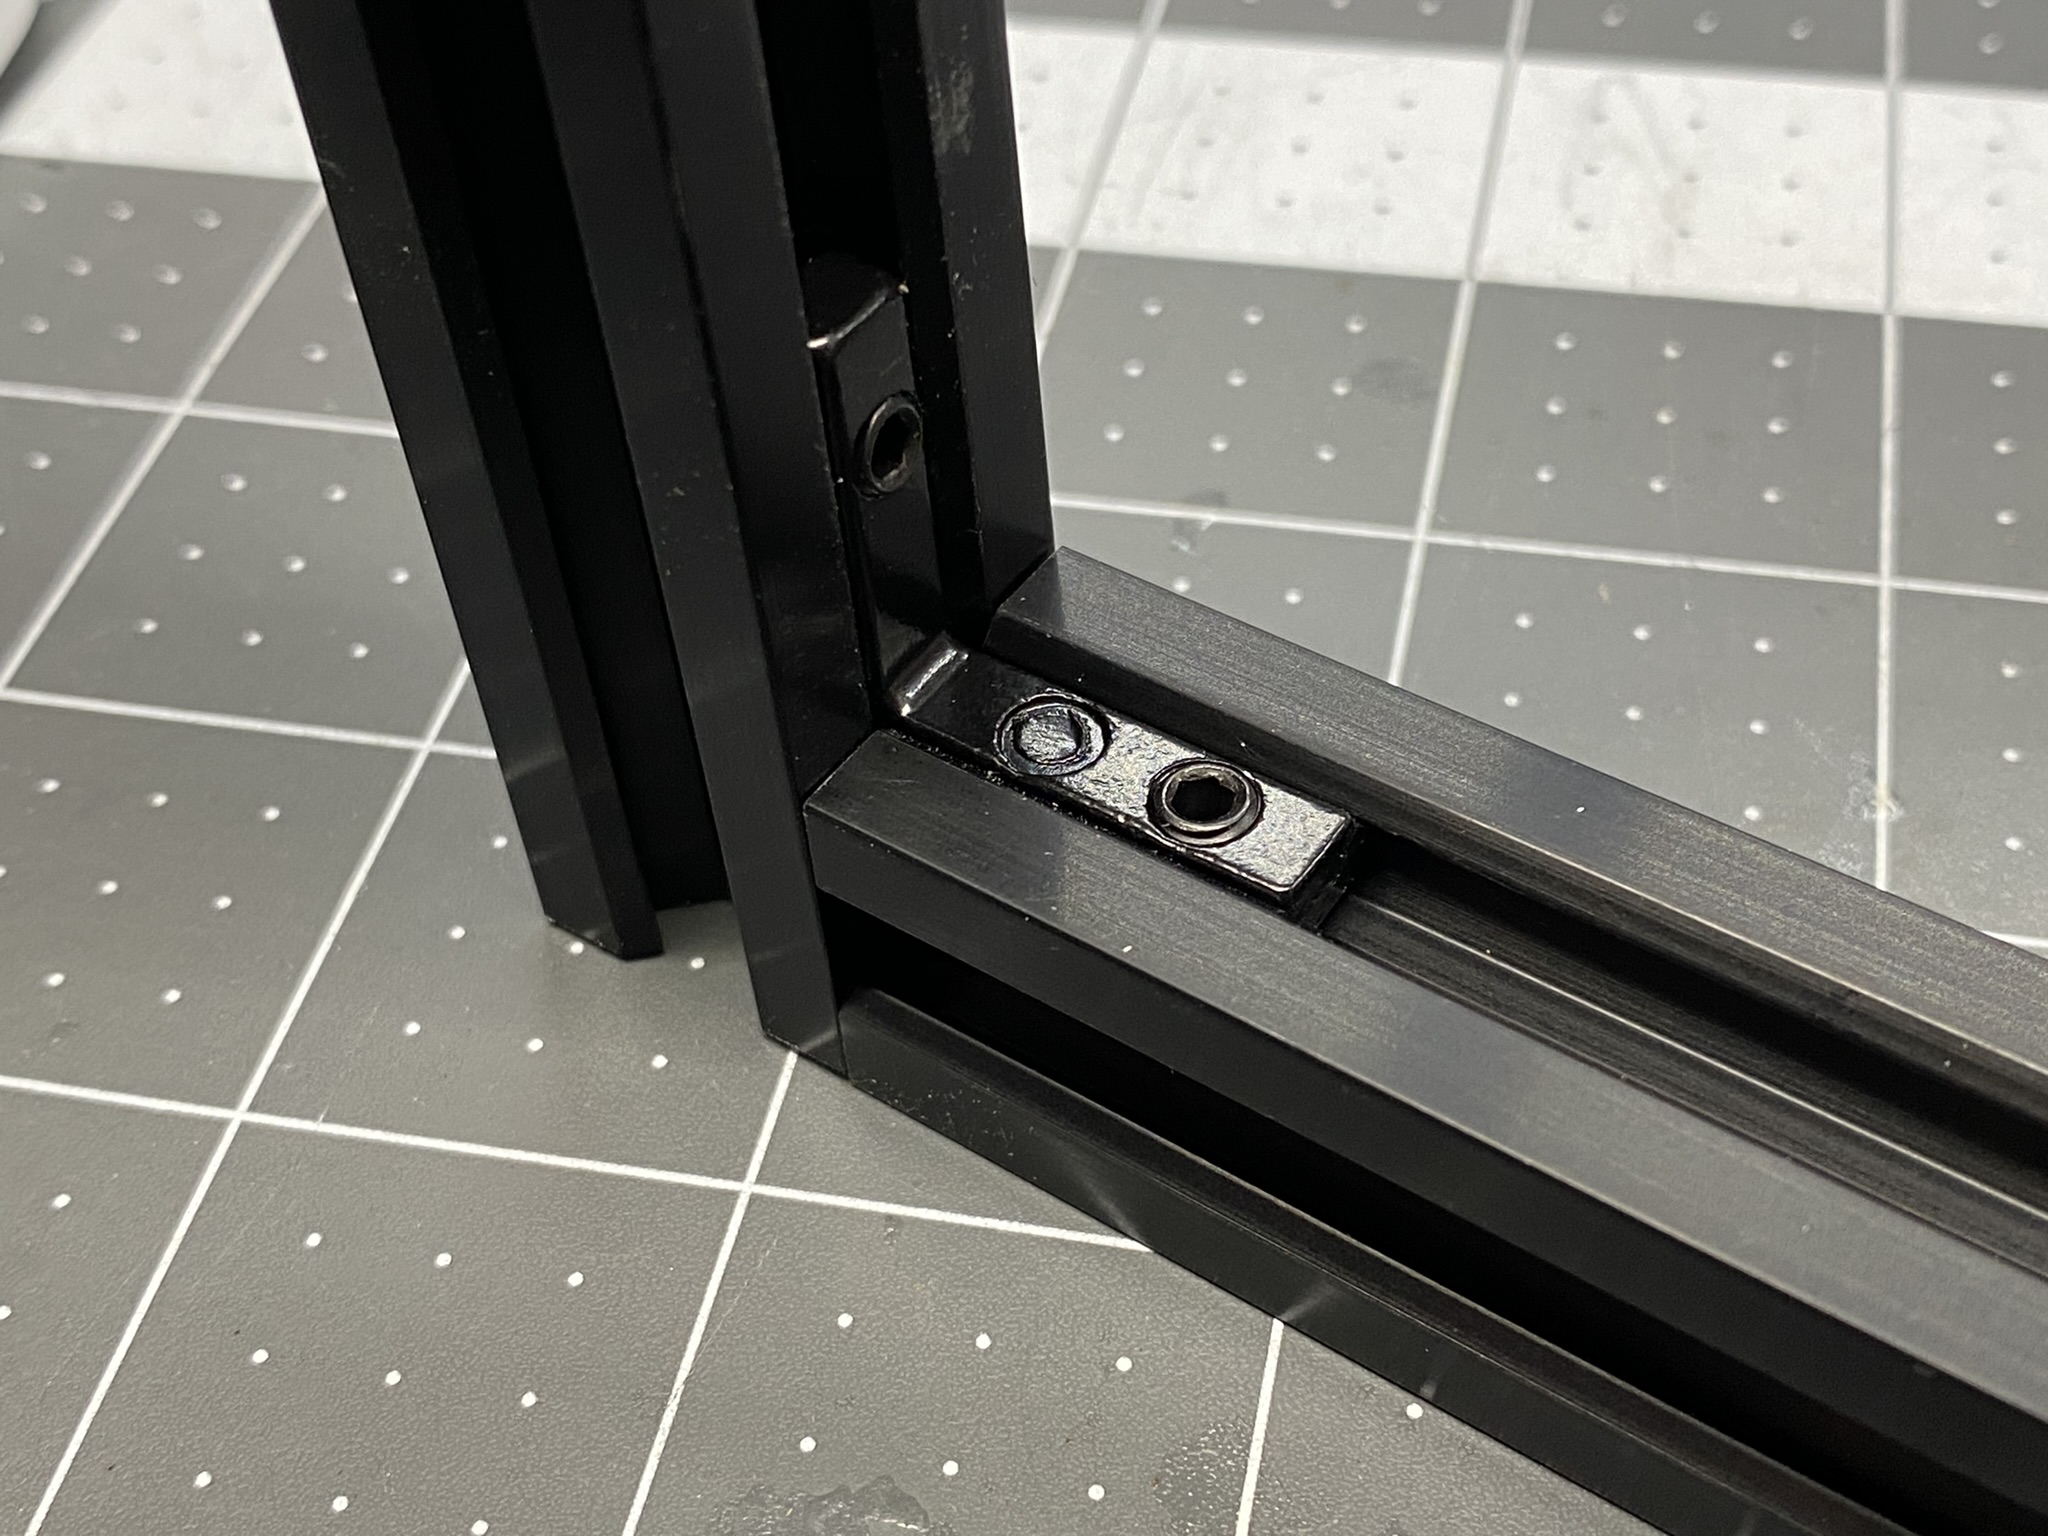
 This style uses a nut that slides into the groove, and the screw goes through the bracket, and is threaded into the nut in the channel. |
 These channels are 20 mm wide. The channel is dead center, so the holes in the perimeter of the panel are spaced 10 mm from the edge. |
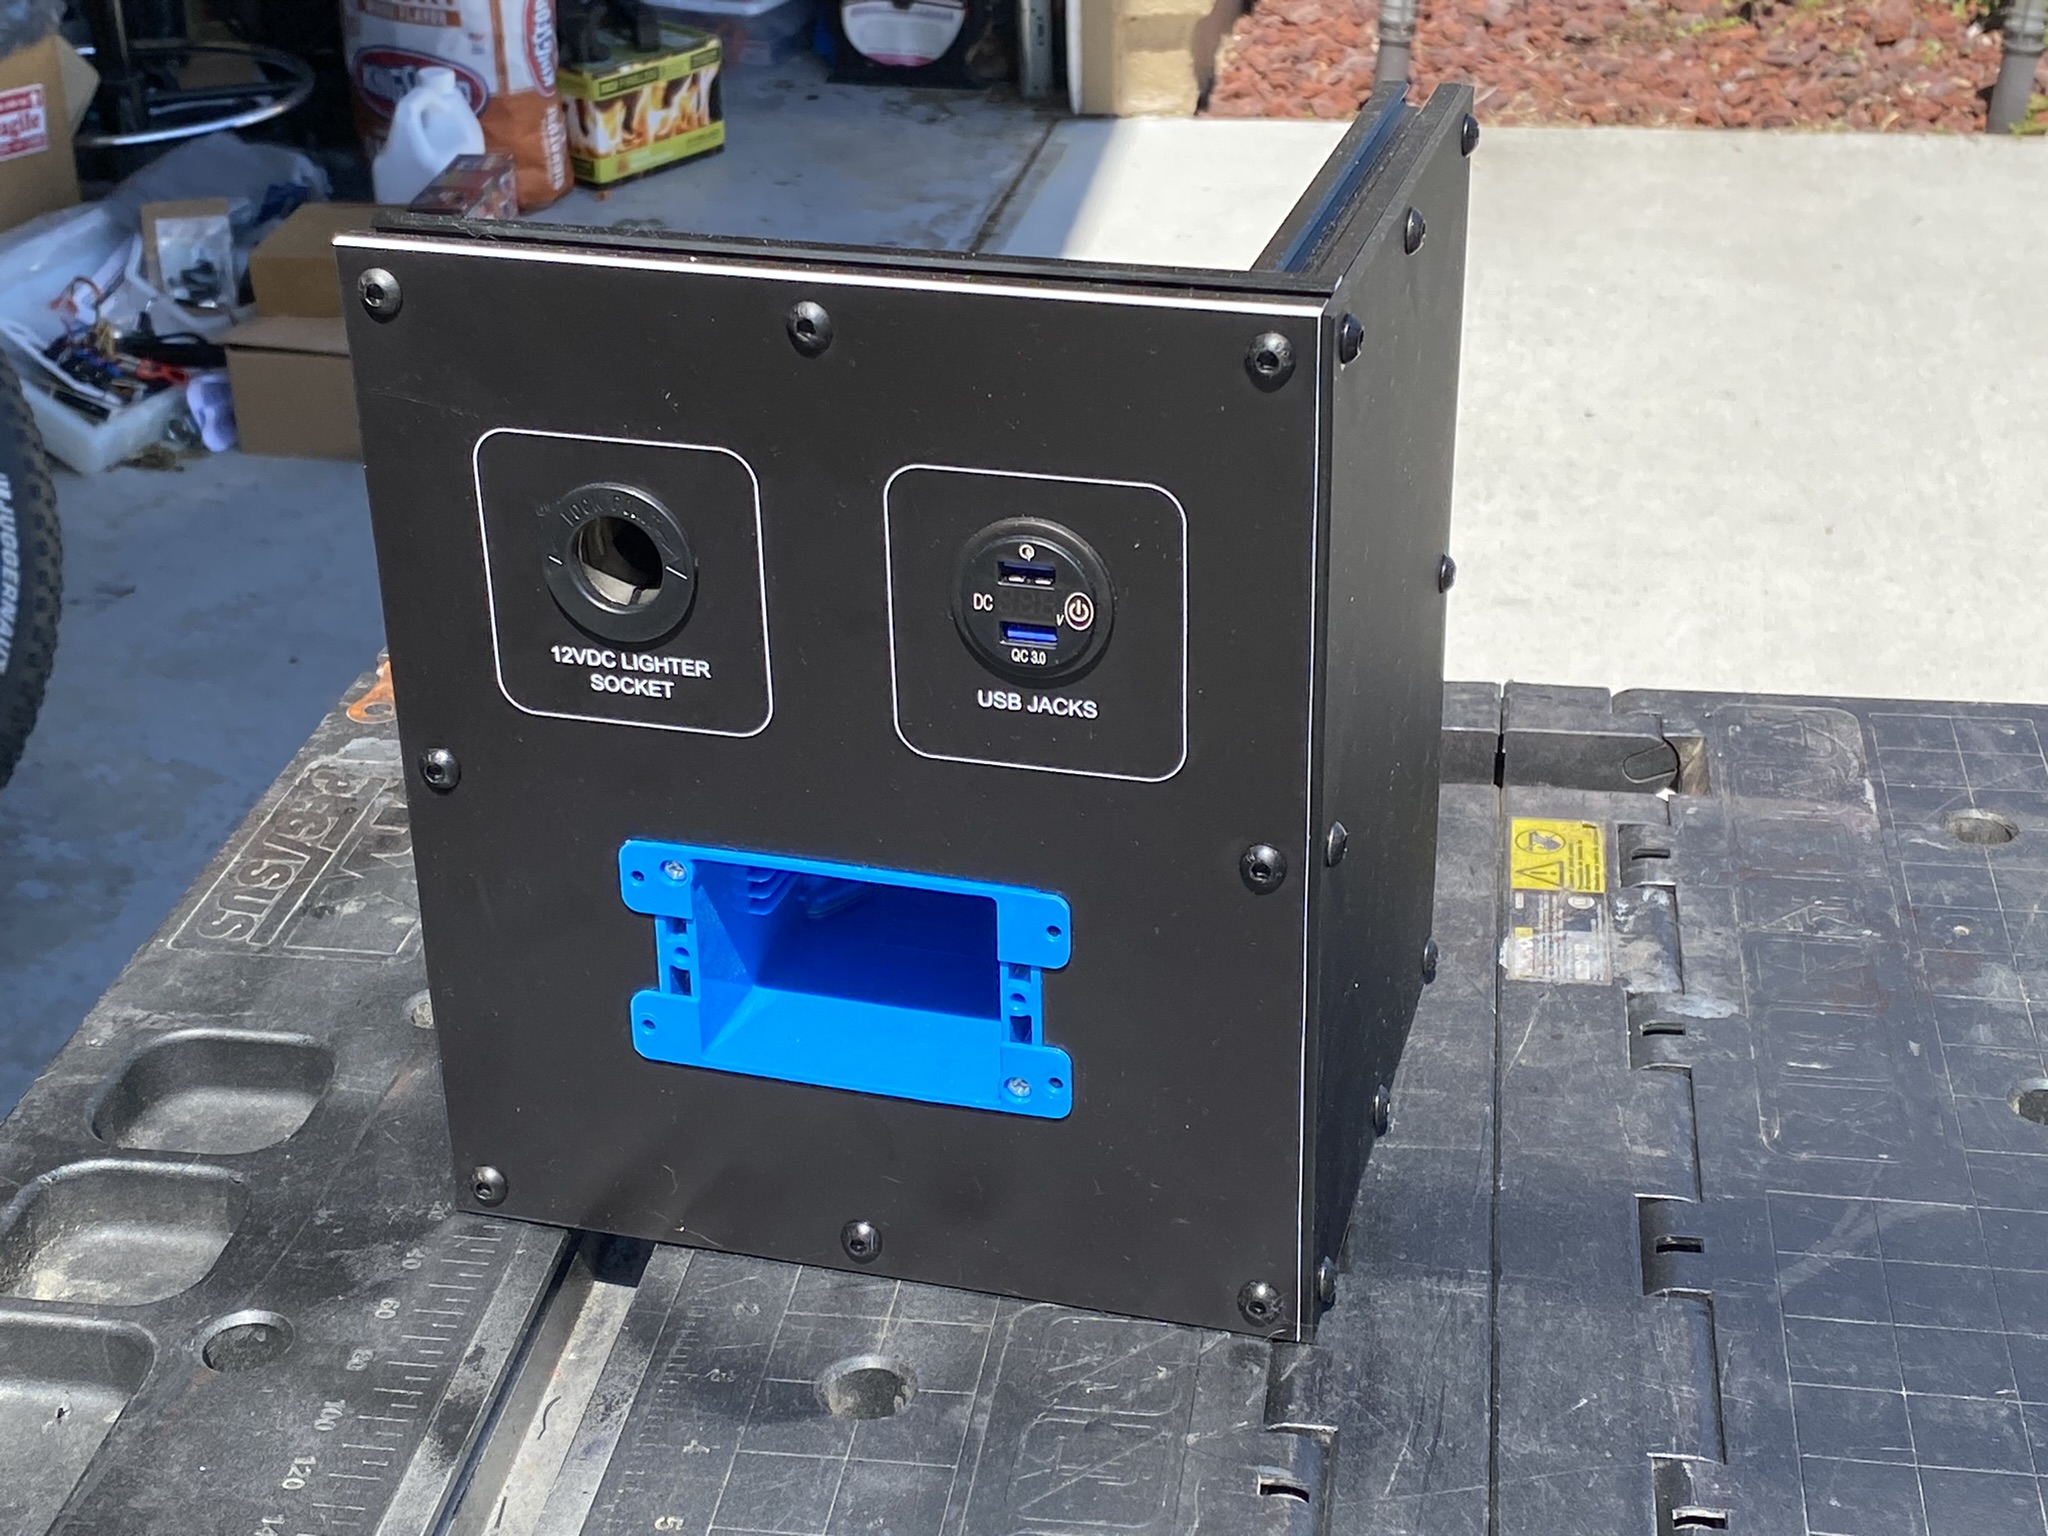
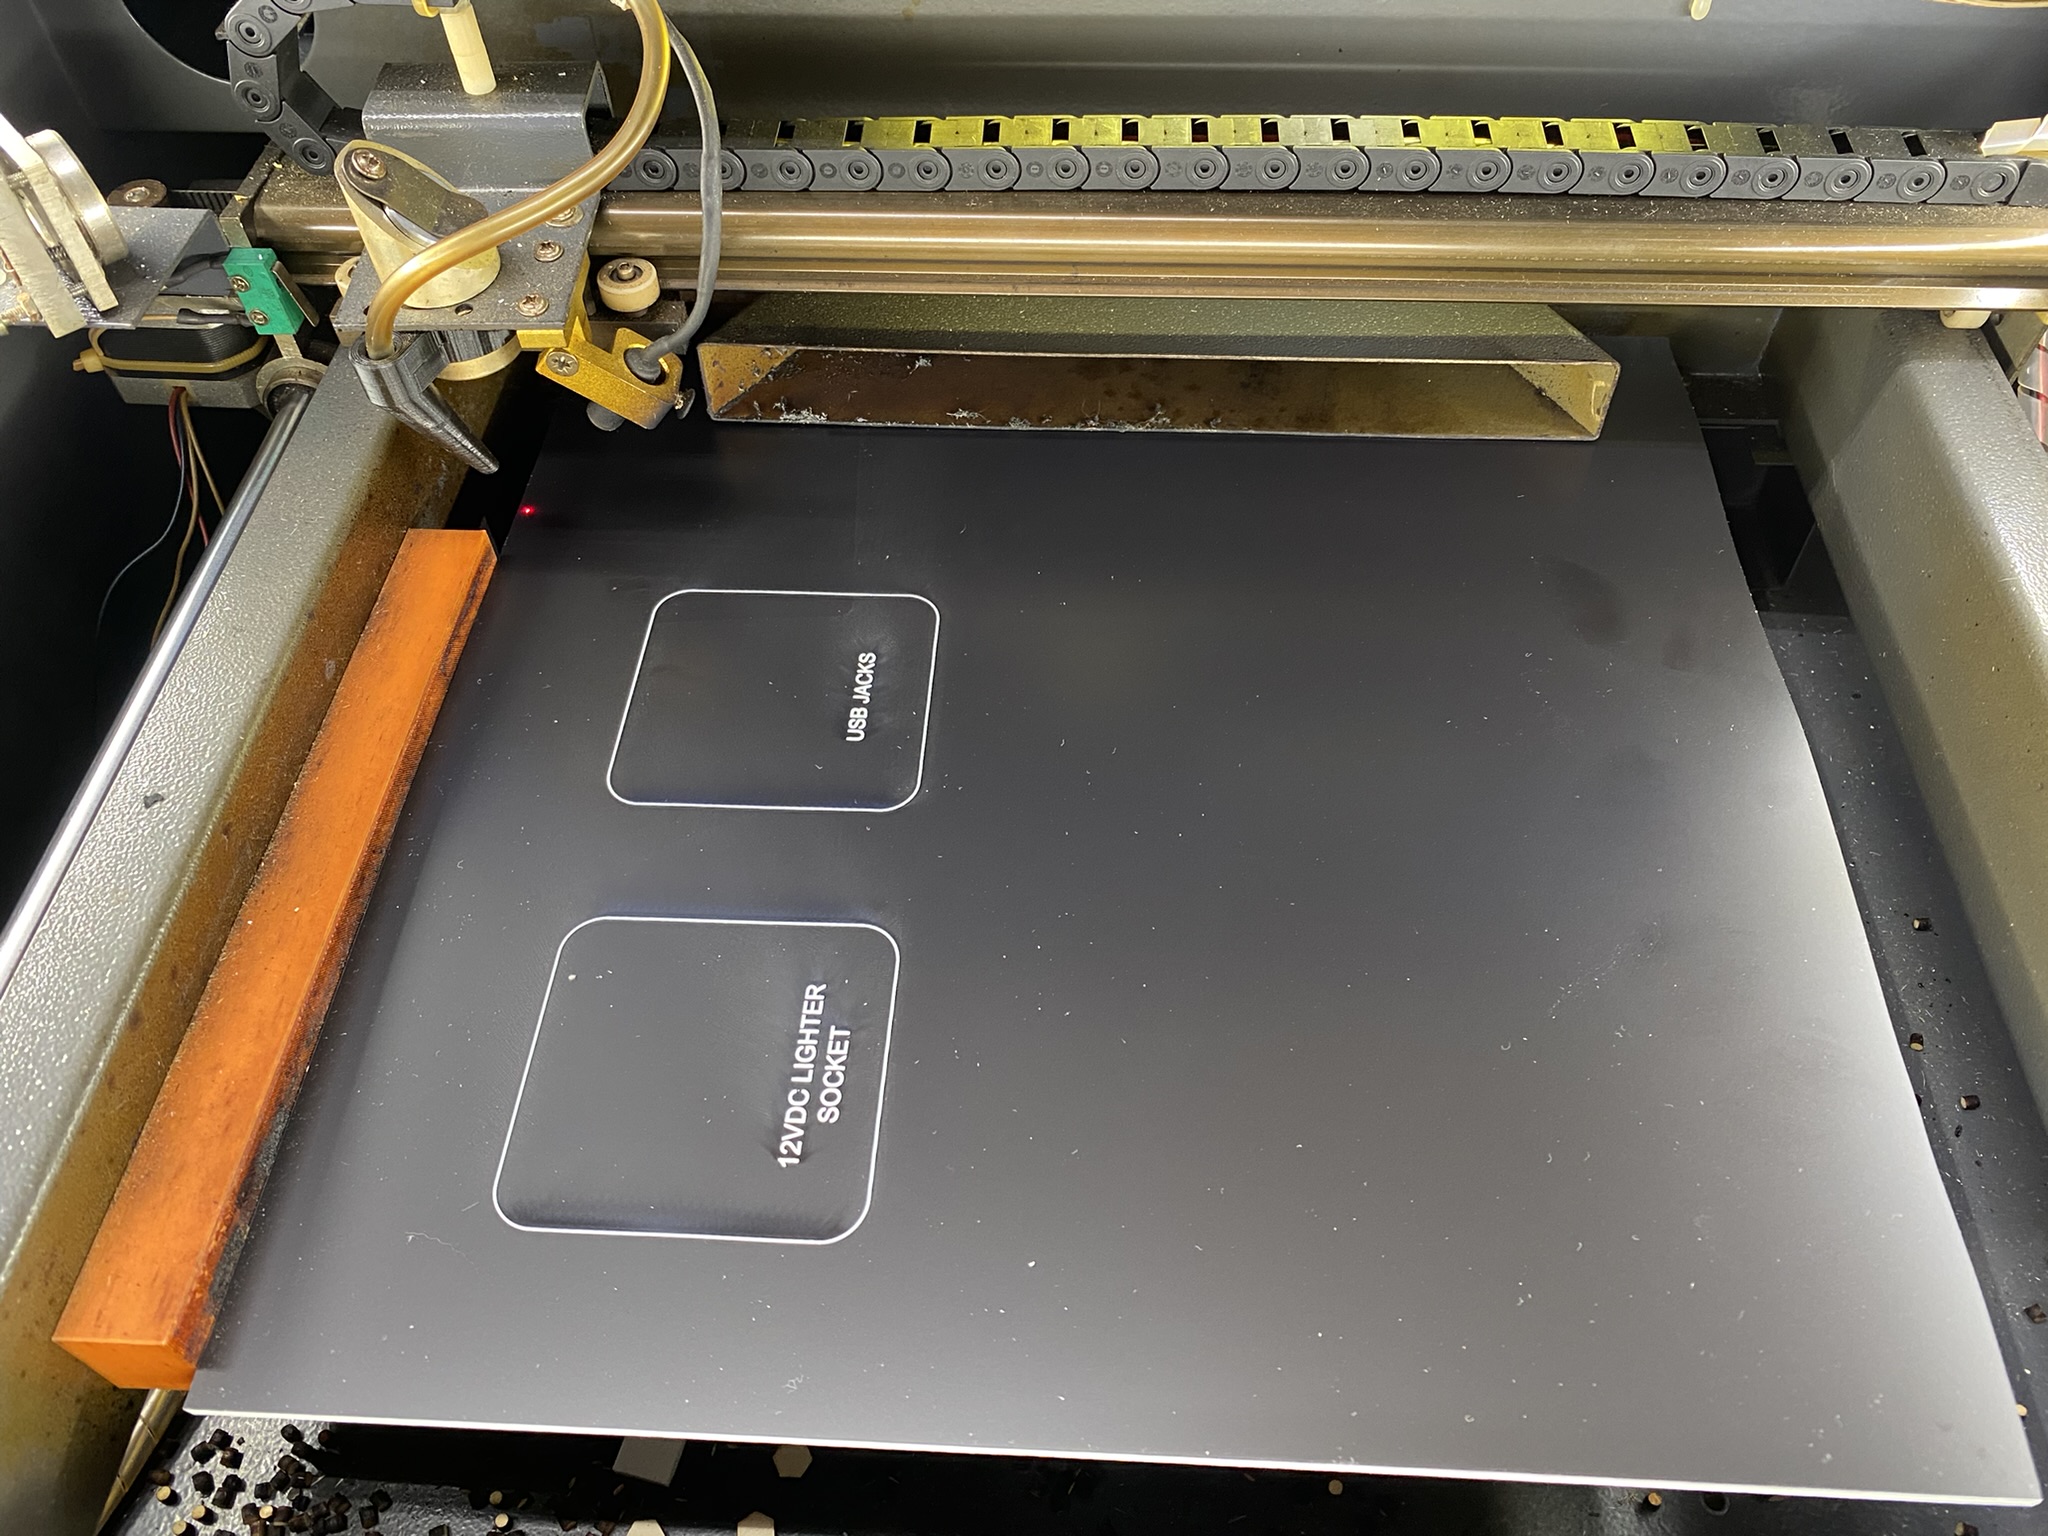 Now that the prototype panel fits as expected, time to engrave the acrylic laminate. This is a really nice material, intended for laser engraving and cutting. Make sure to turn off the air assist. By doing so, the engraved letters are cleanly done. Leaving the air assist on leaves groves in the valleys of the letters. |
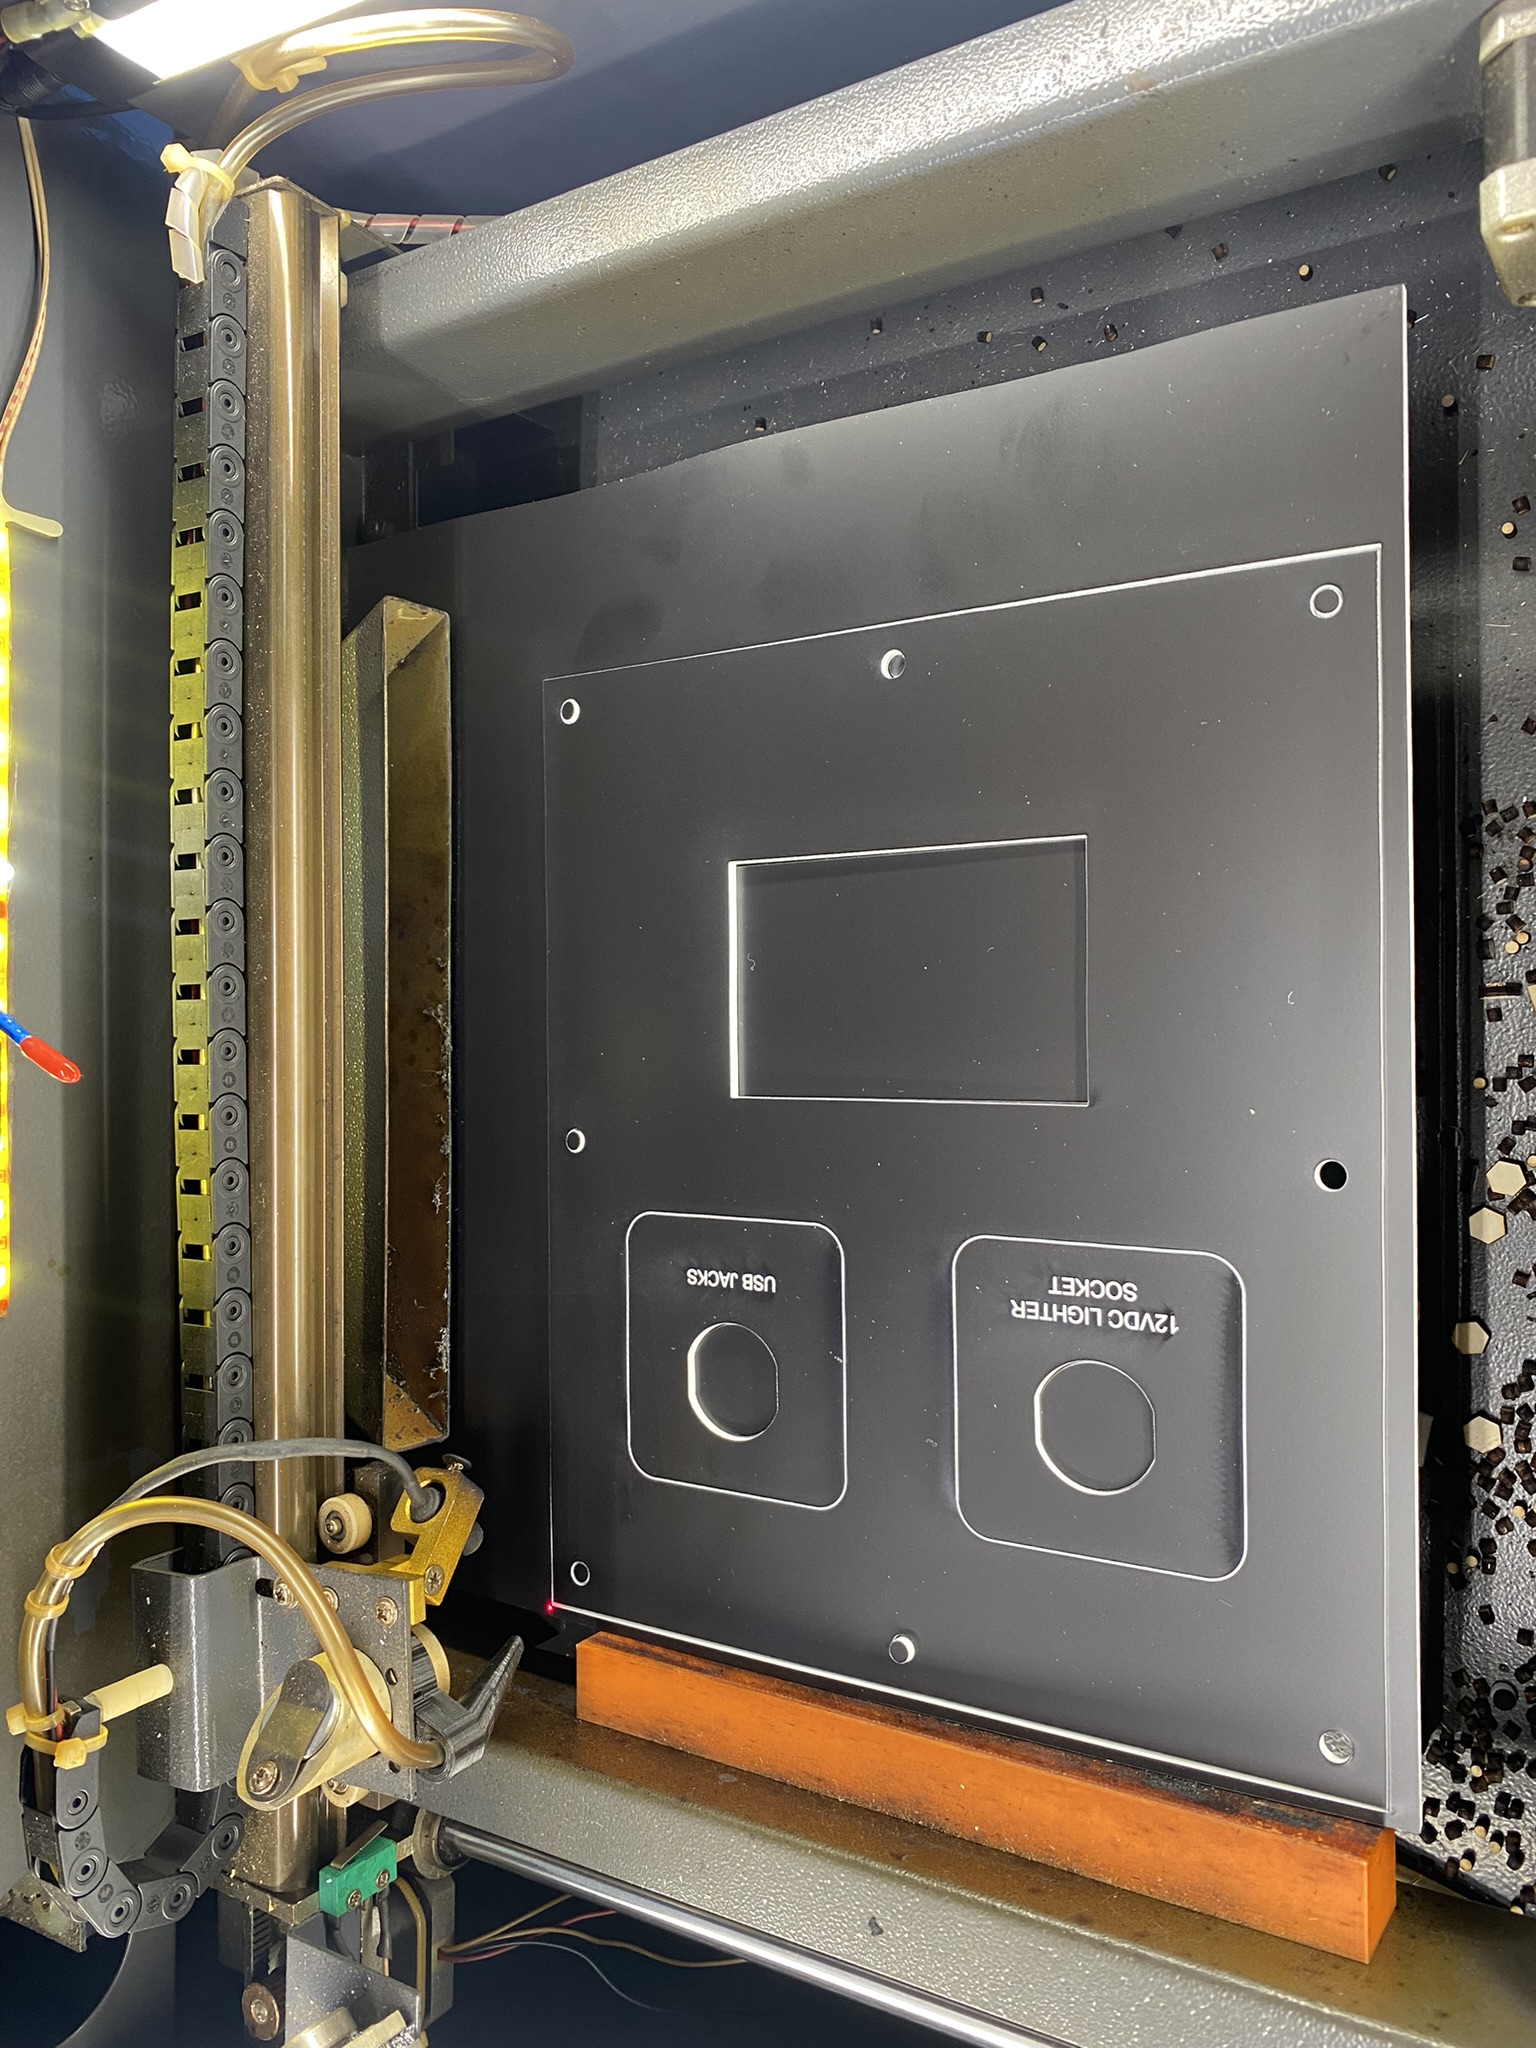 The power was increased, and the air assist turned on. Nice clean cuts. |
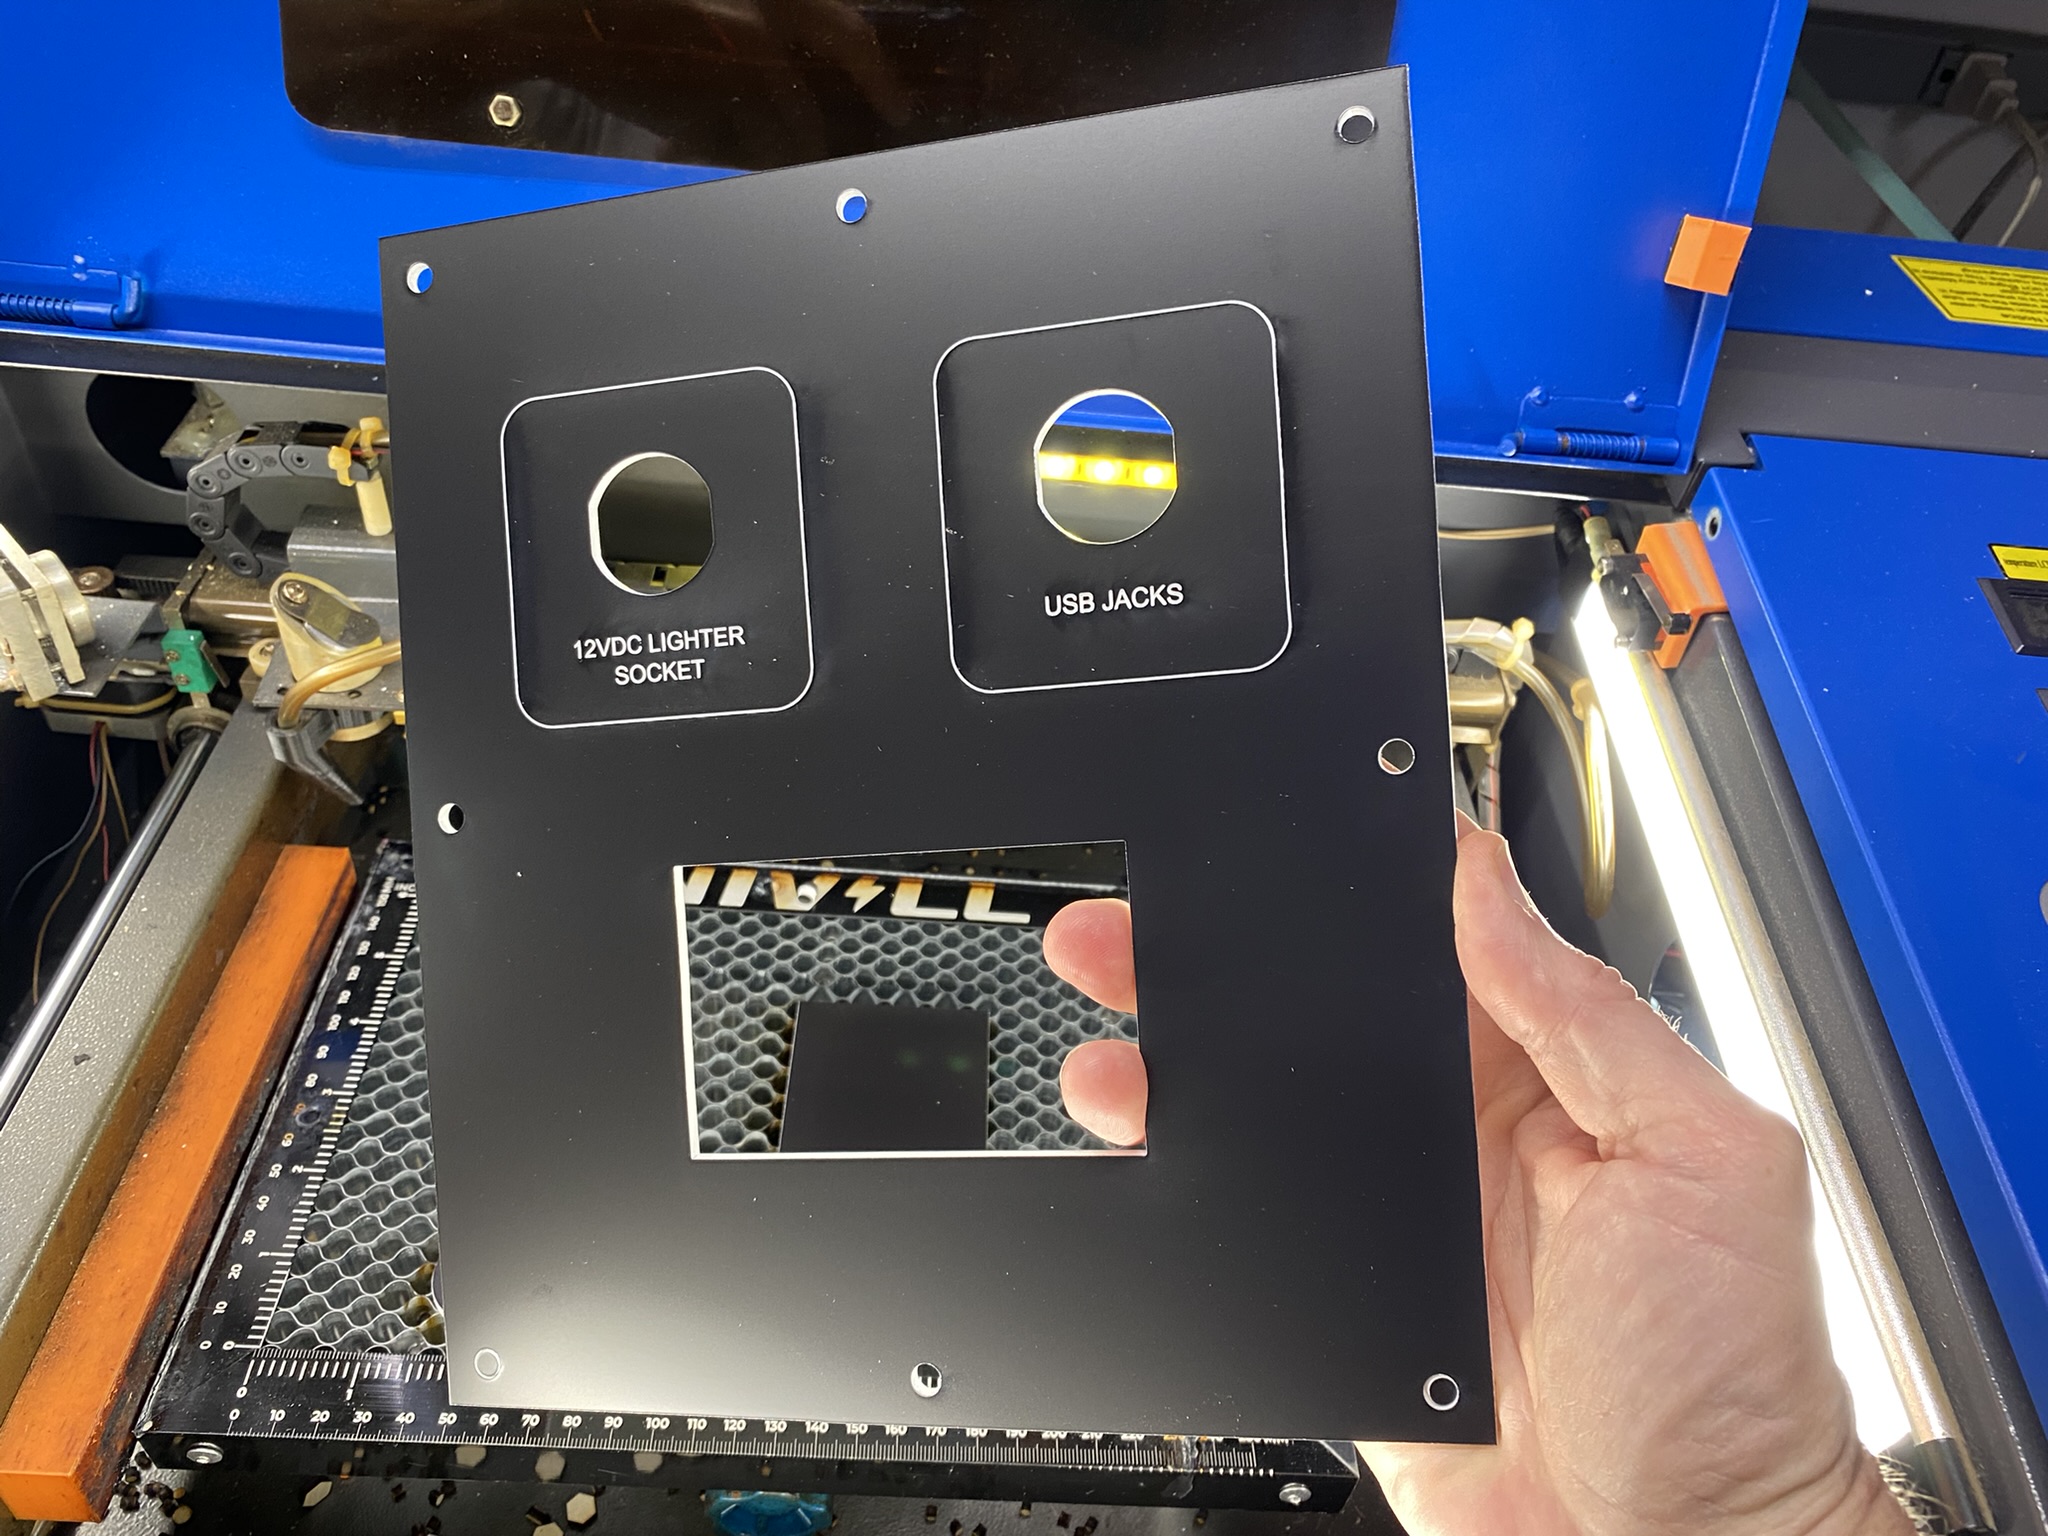 There will be some residual adhesive that was used to make the laminate. Use a little isopropyl alcohol to wipe it off. This also will remove and residual acrylic ash deposits. |
 This panel only requires 2 sides. The way it mounts, hides the other sides. |
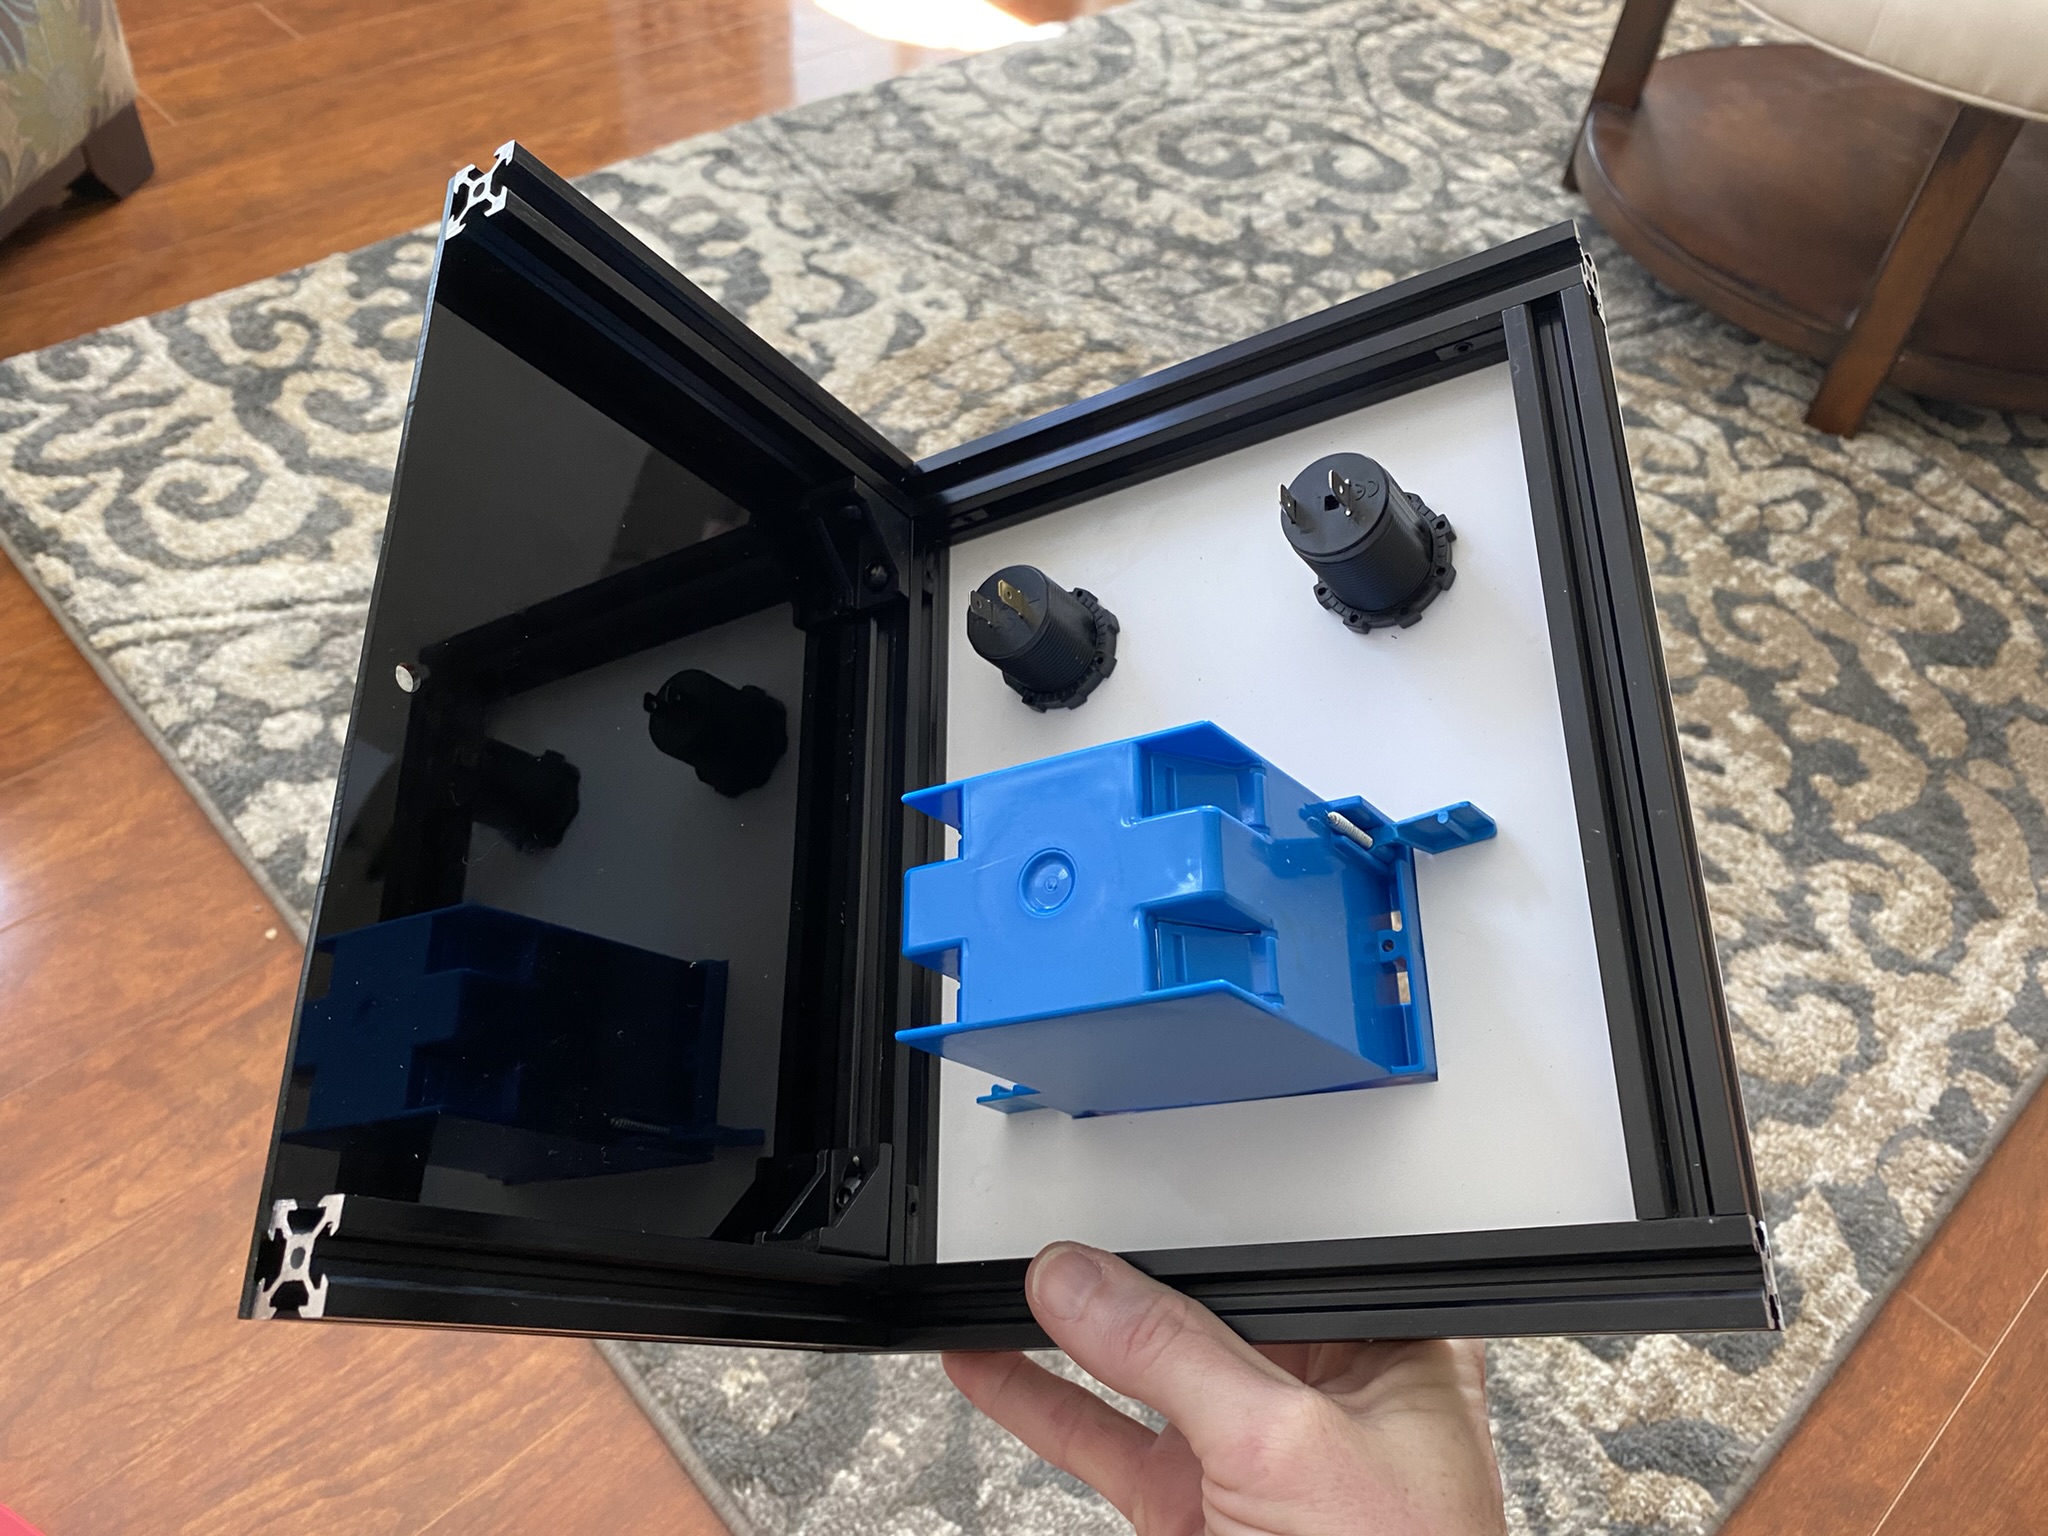 Here you can see the 2020 aluminum frame. |
 The last piece of 2020 aluminum I had was silver. It is hidden from view, so the color didn't matter. |
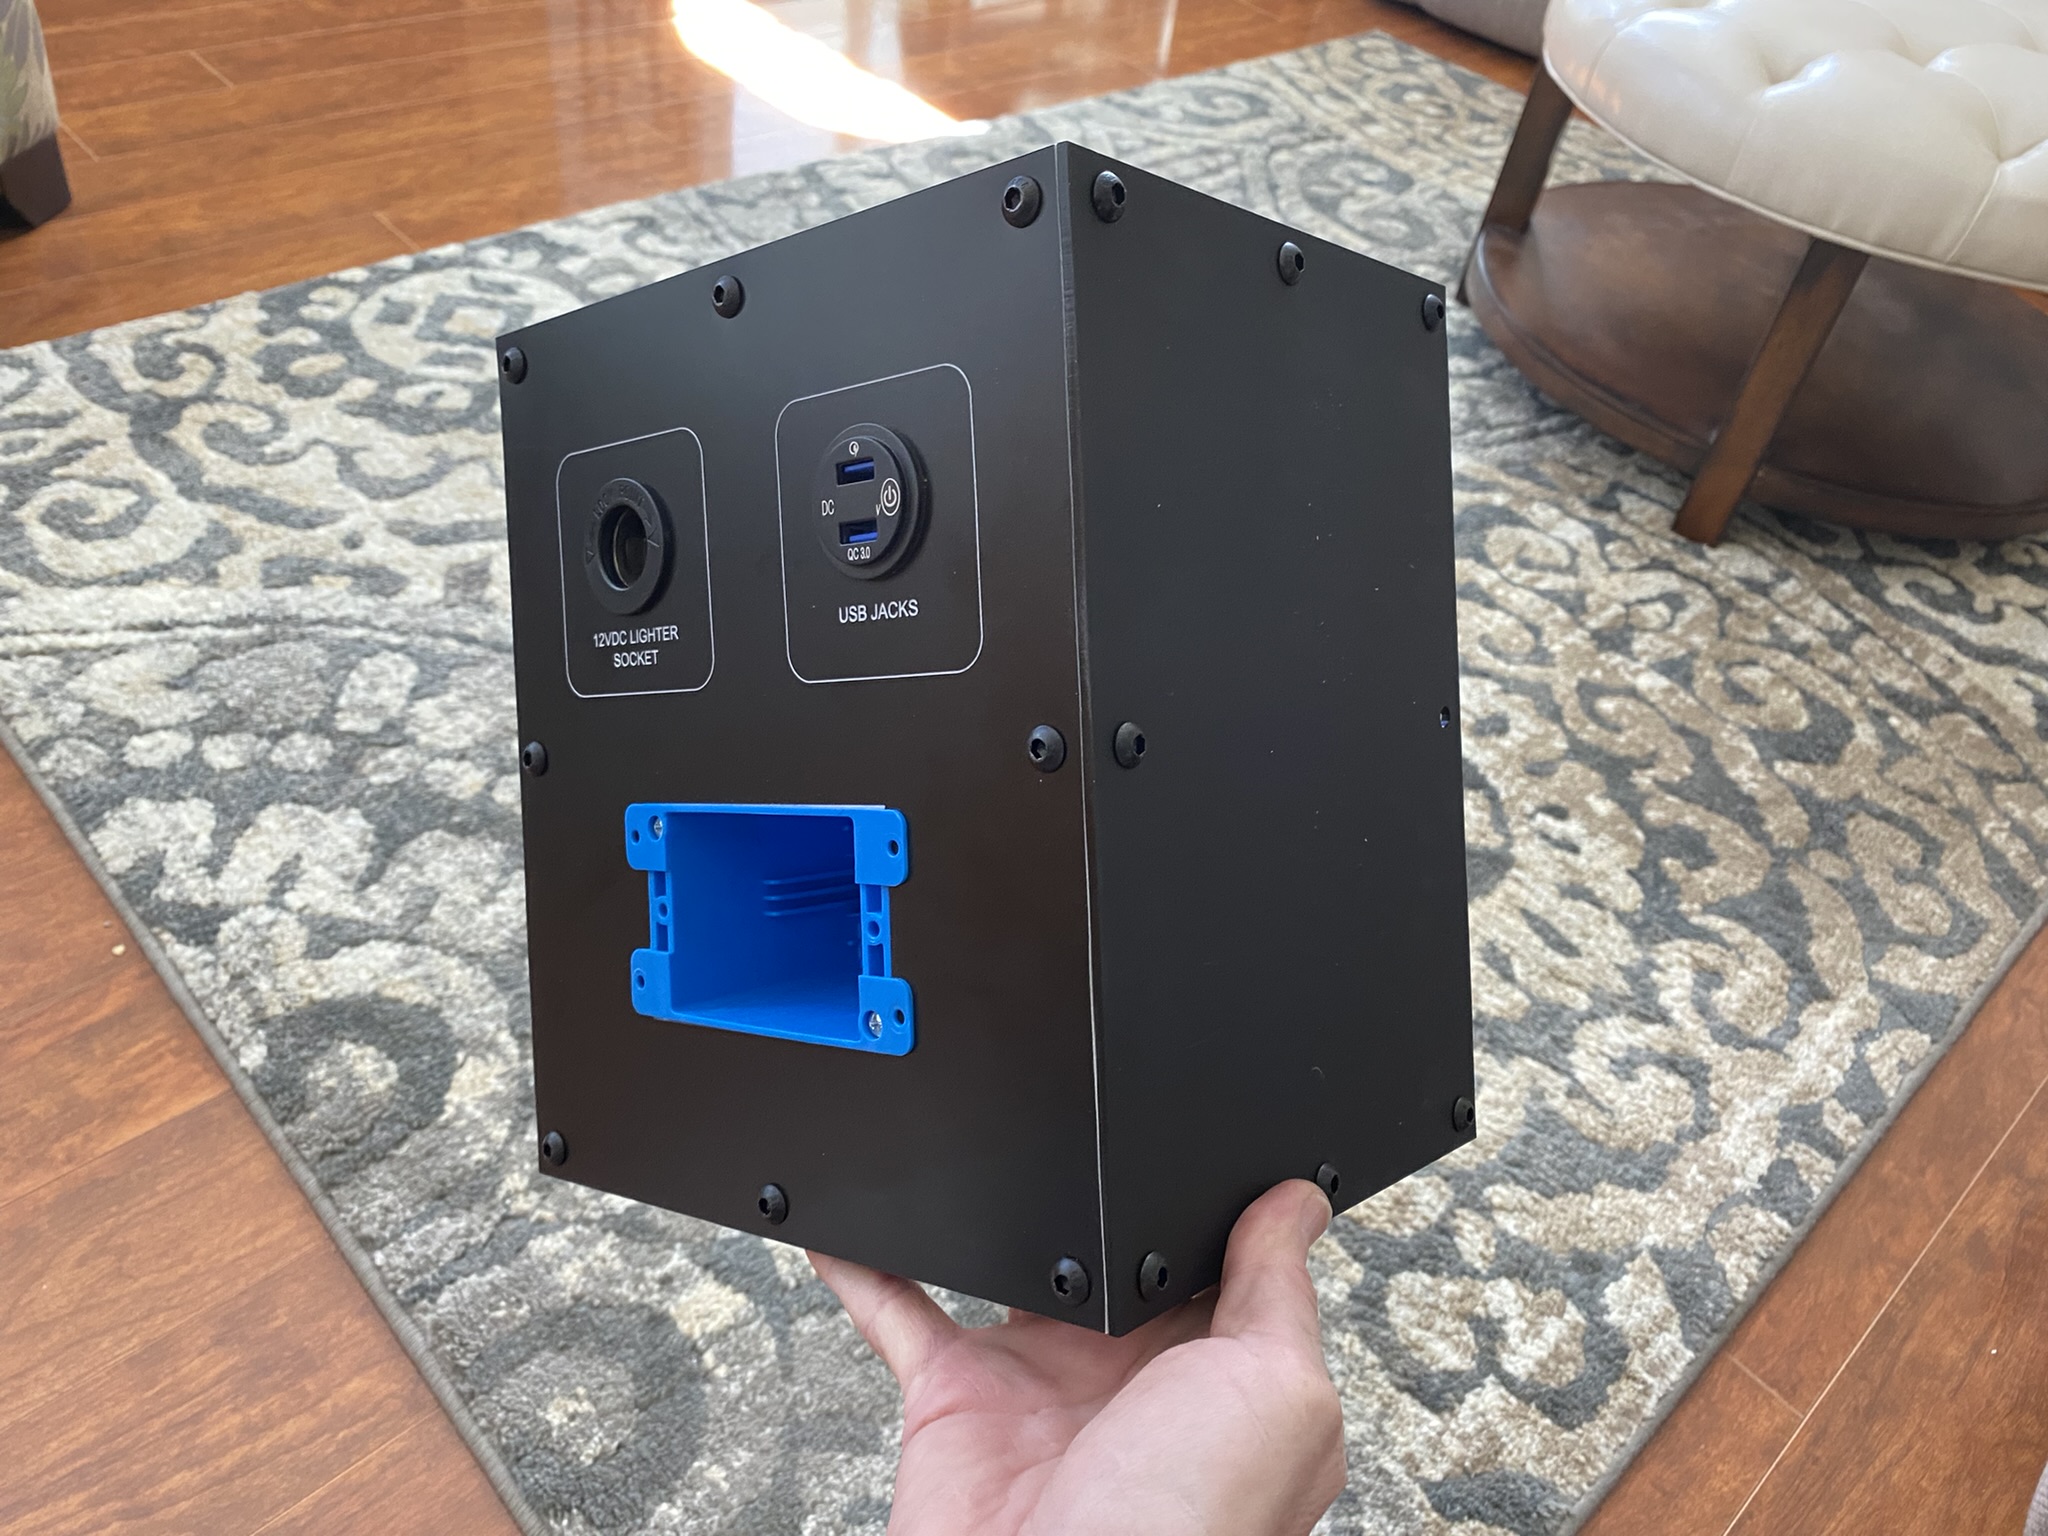
 Final inspection before installation. |
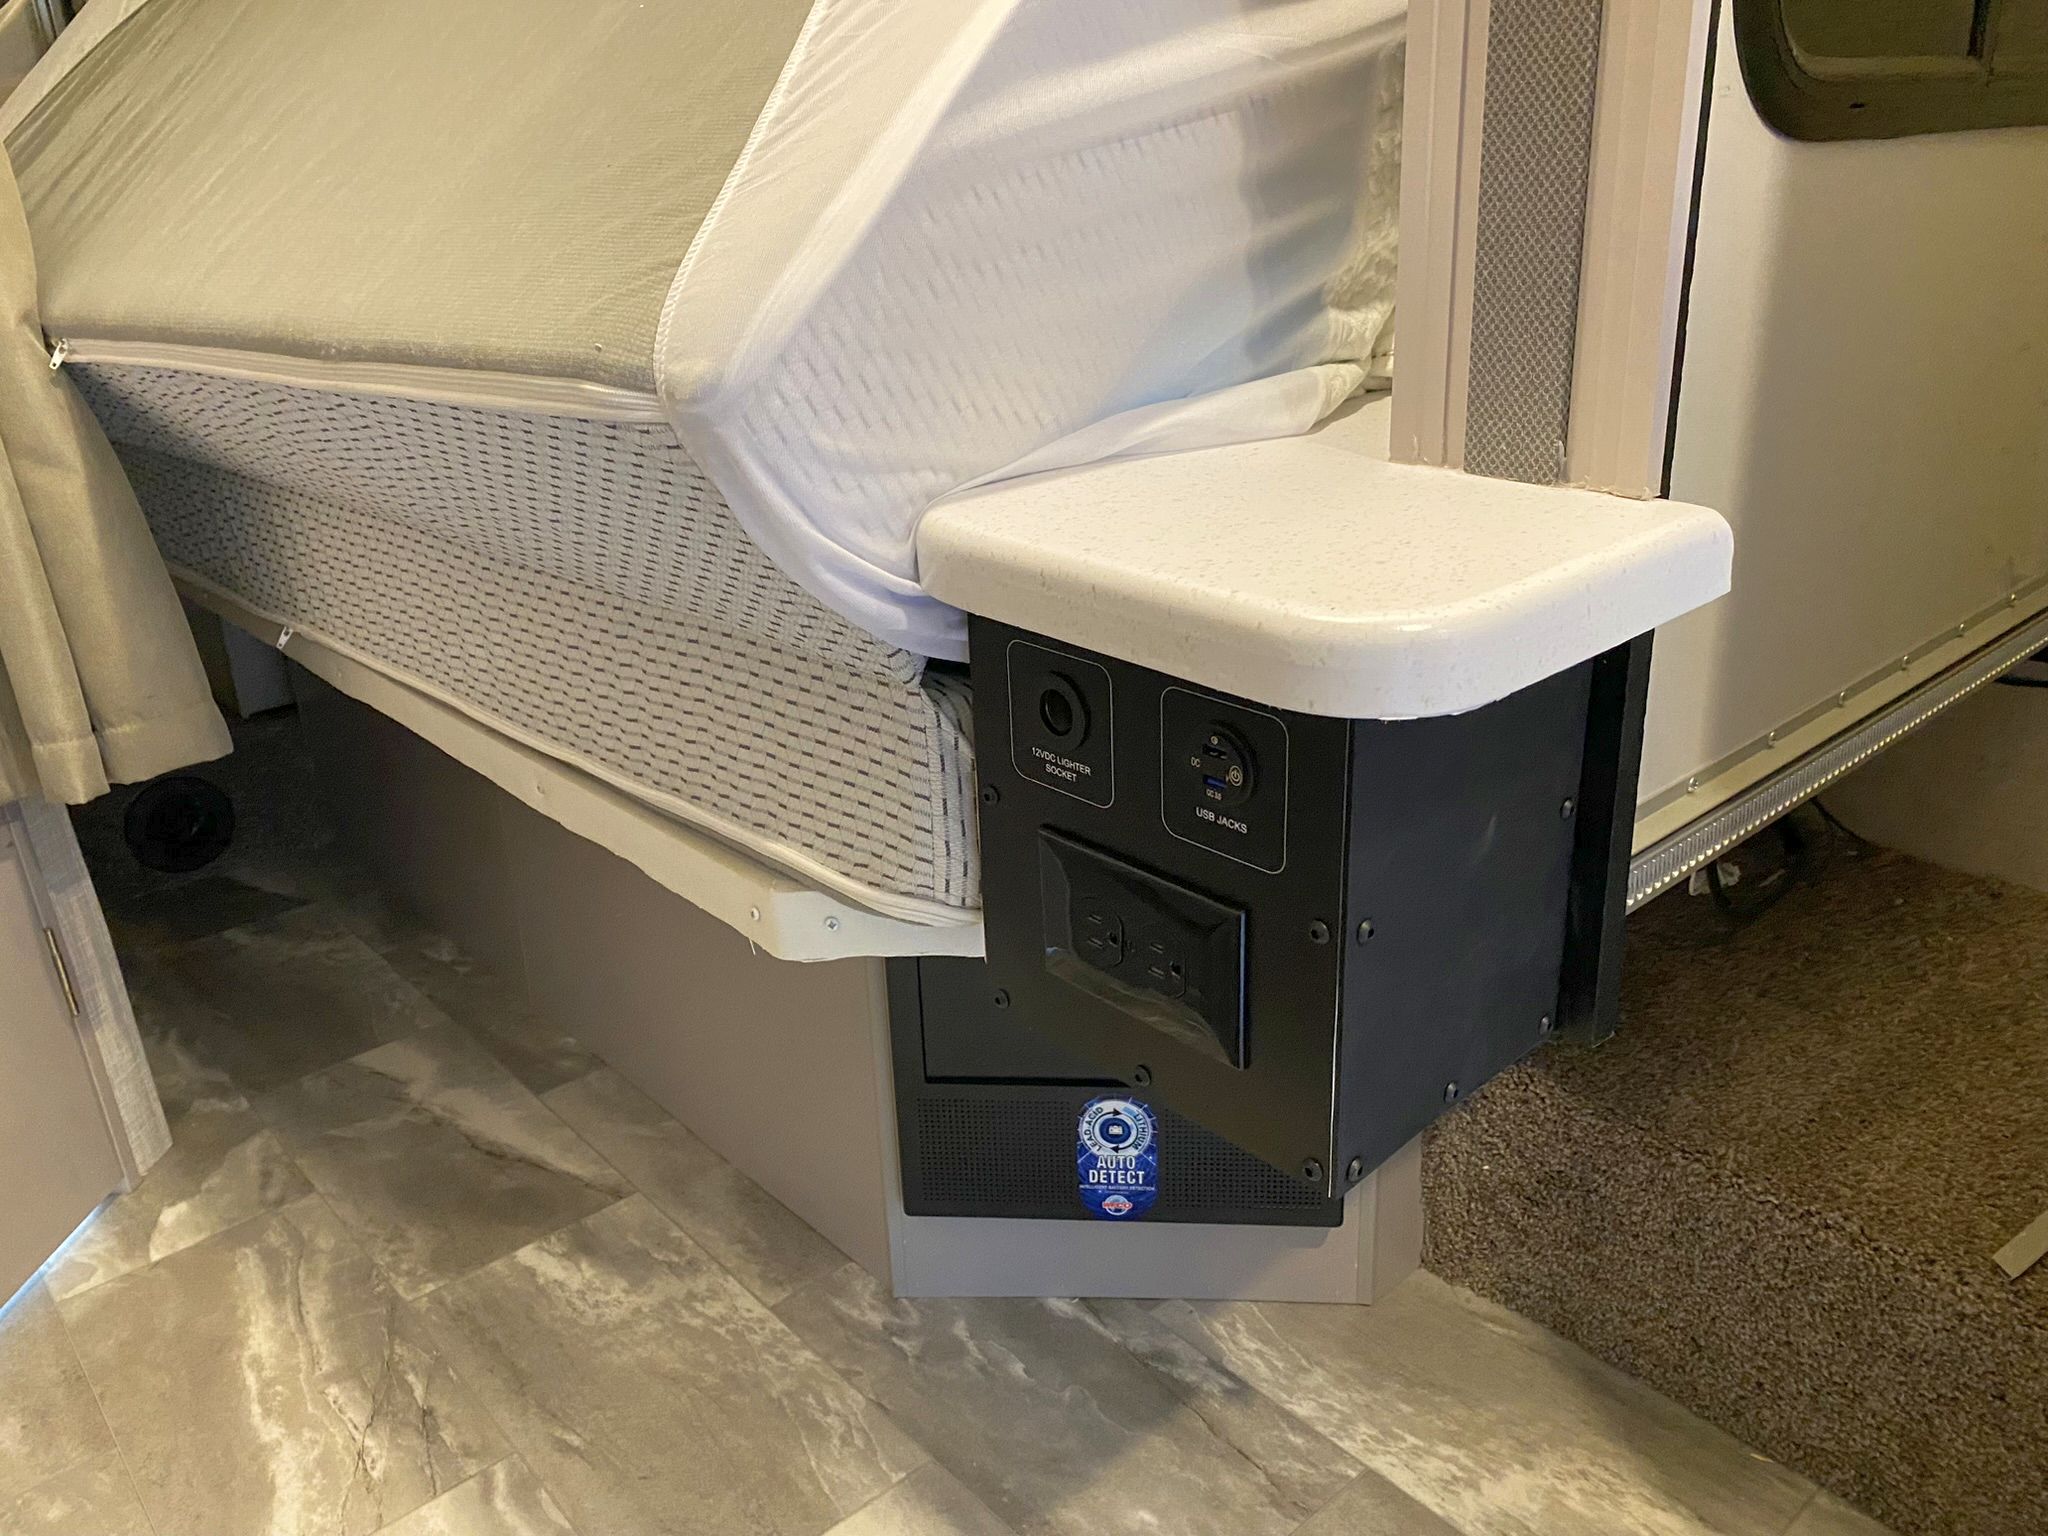 I used a few angle brackets to attach the box to the underside of the countertop. This is how the original one was mounted. |
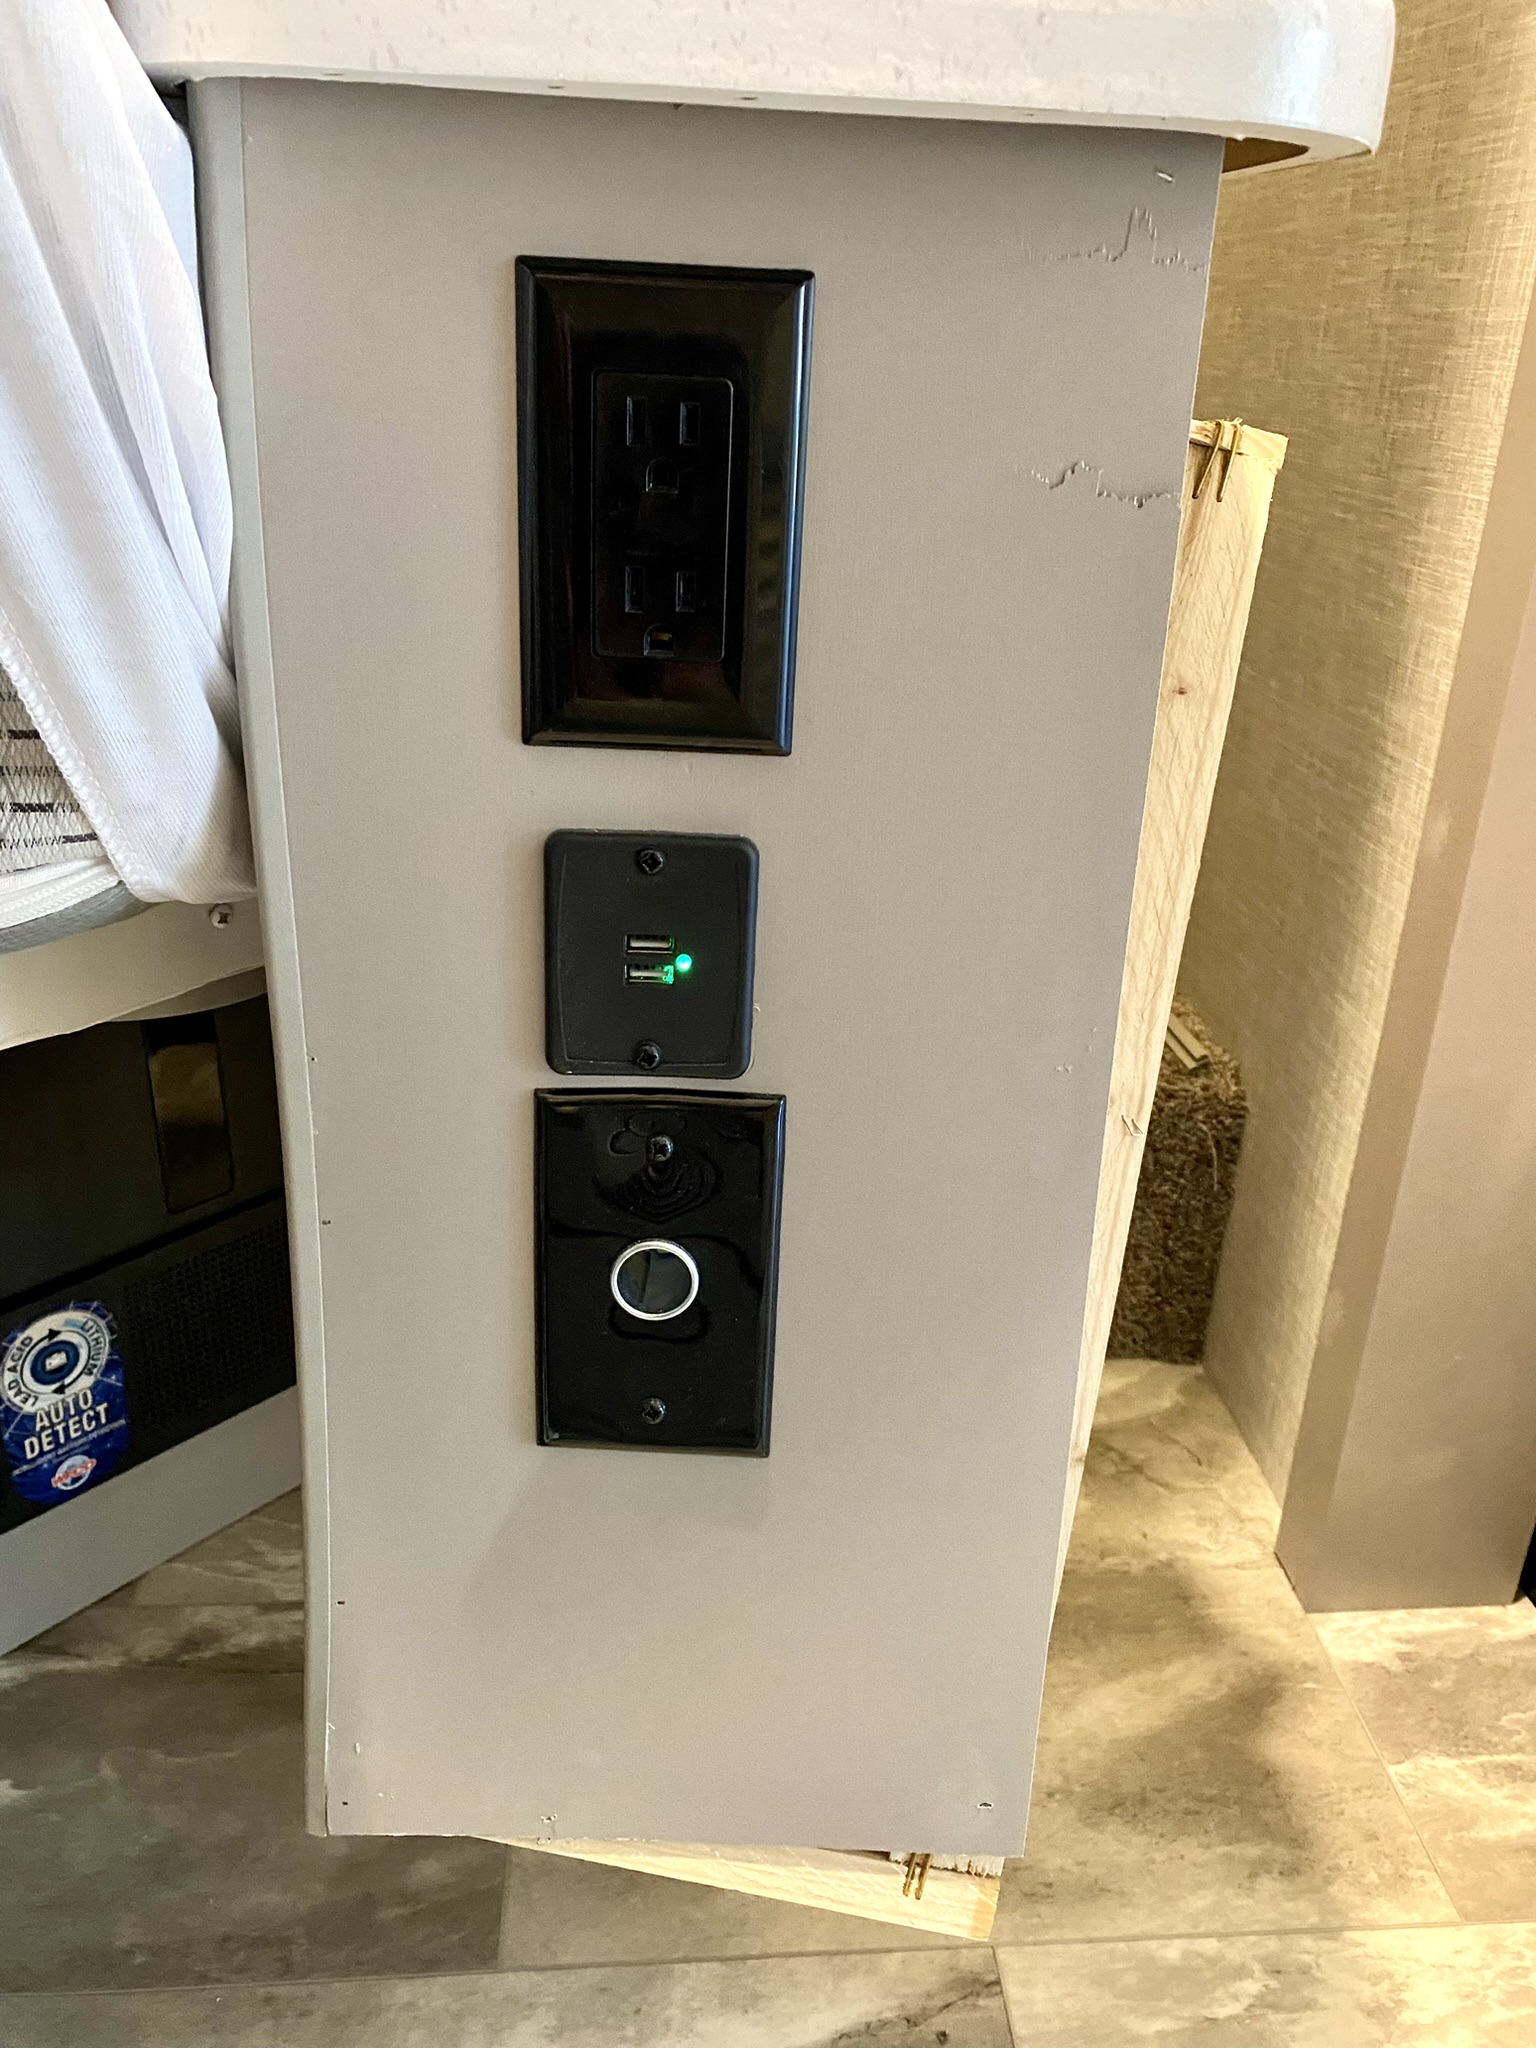
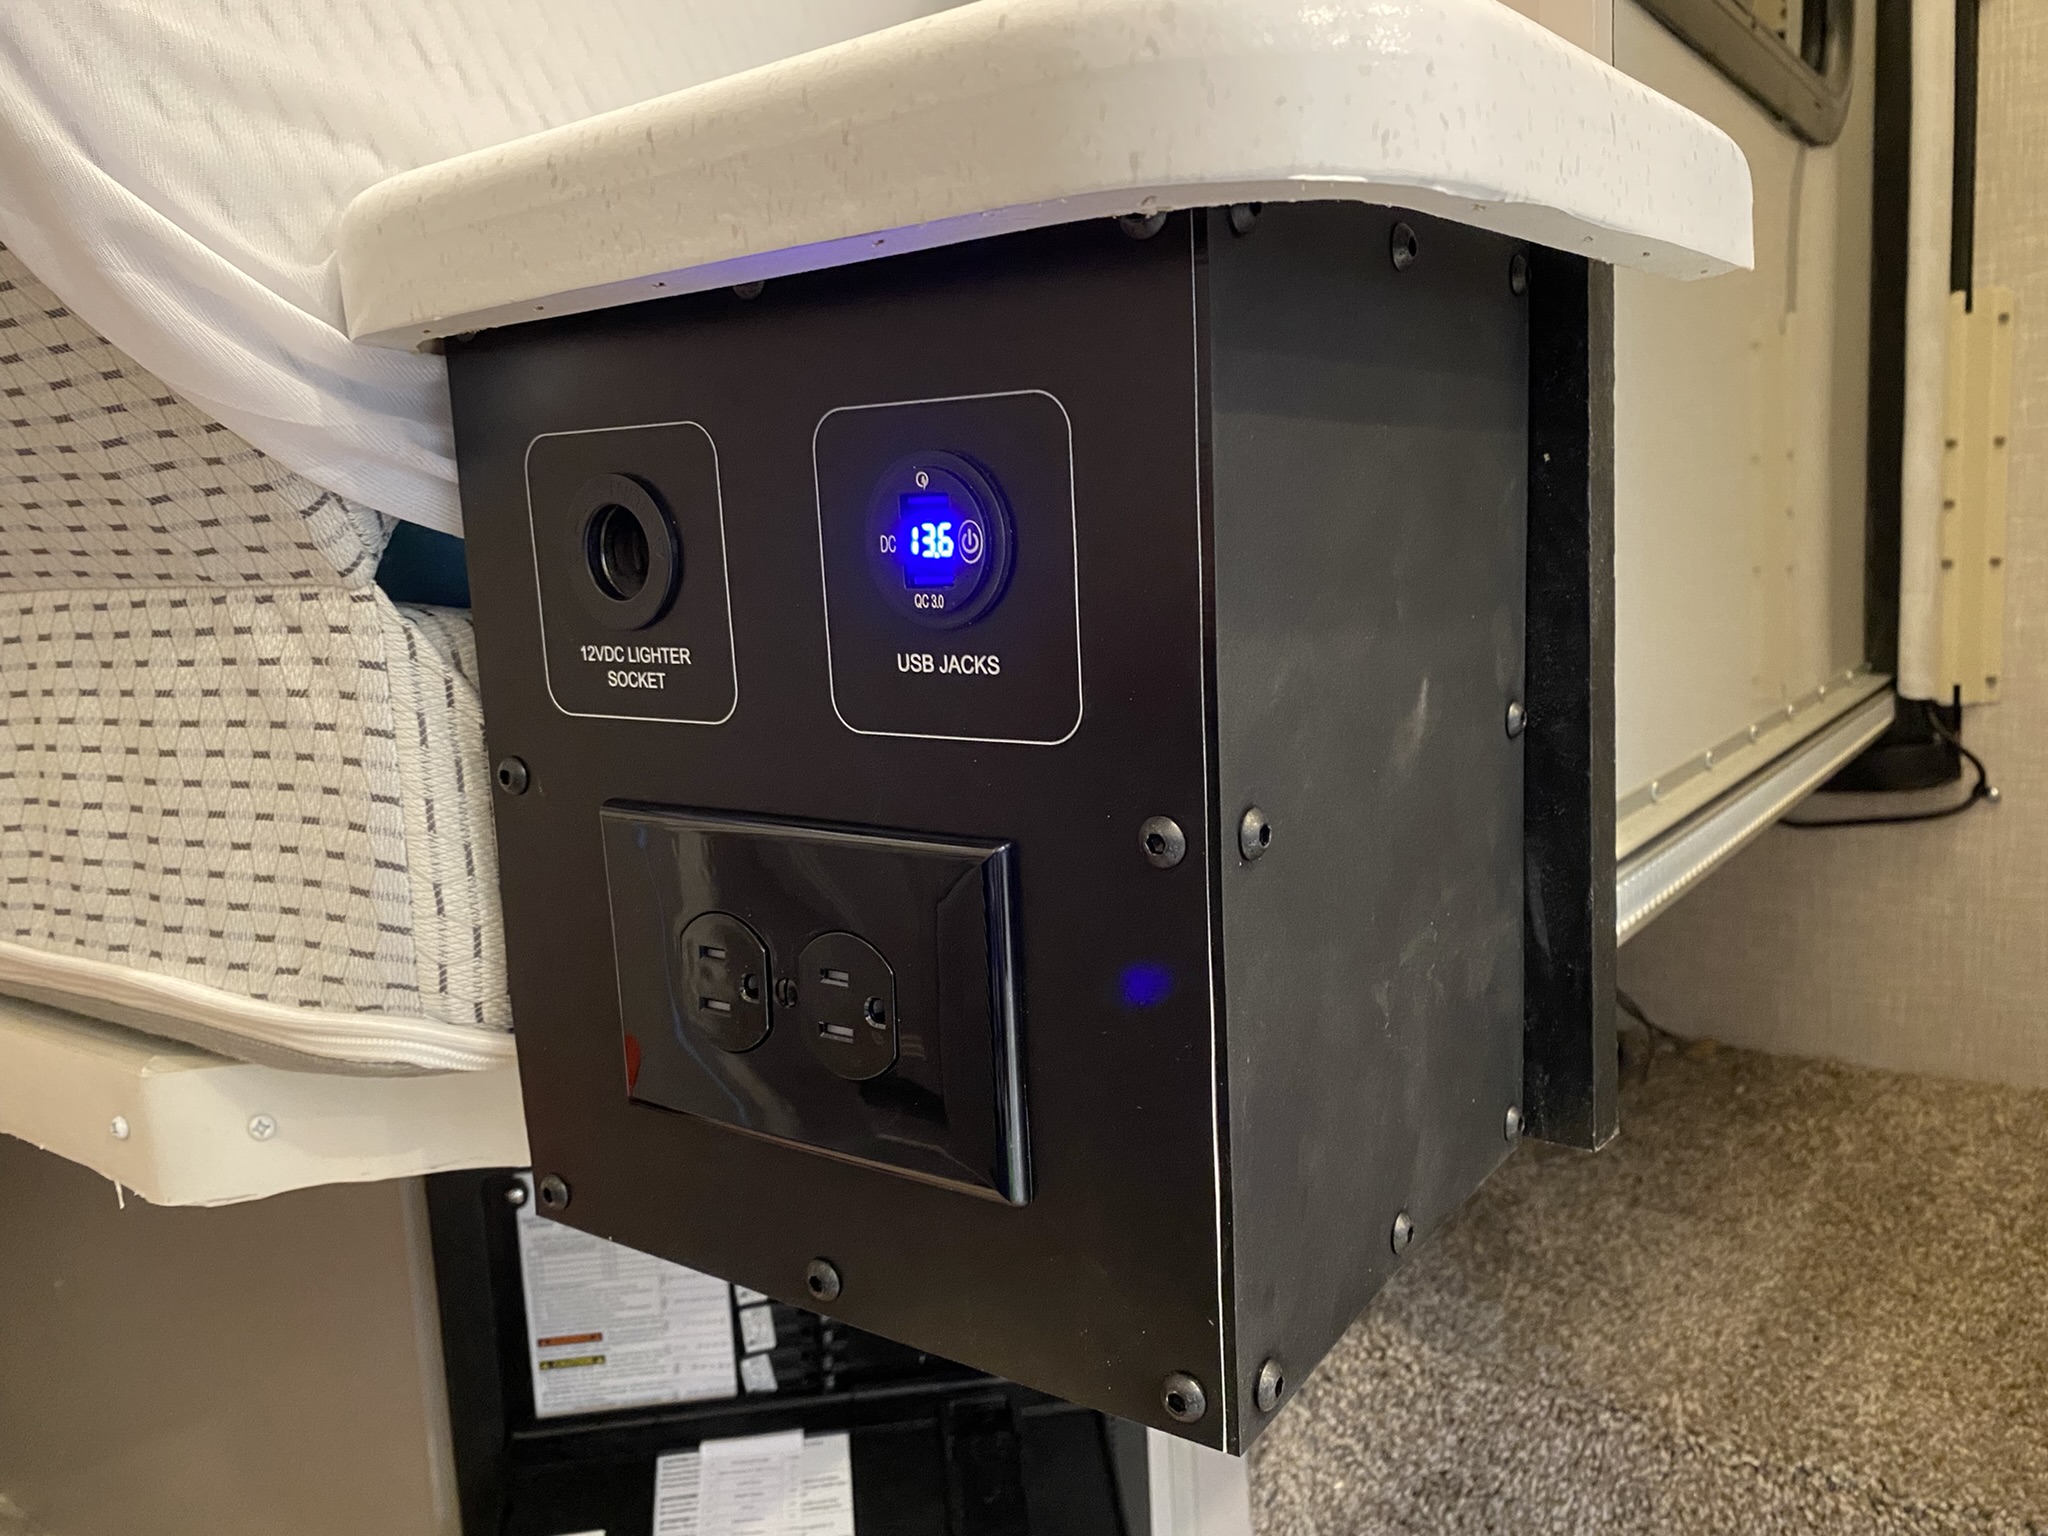 All wired up, ready for use. |
As an Amazon Associate I earn from qualifying purchases. Clicking the
links cost you nothing extra, but does help support my website, thank you!
|
|
Last updated 08/27/23 All rights reserved. |
